How to brand your Copaco Cloud Portal by adding your own logo and customize theme color
Summary
You can brand your Copaco Cloud Portal by adding your own logo and customize the theme color. This article describes how you can do this.
Prerequisites
Make sure you have credentials to login to our Copaco Cloud Portal.
Getting Started
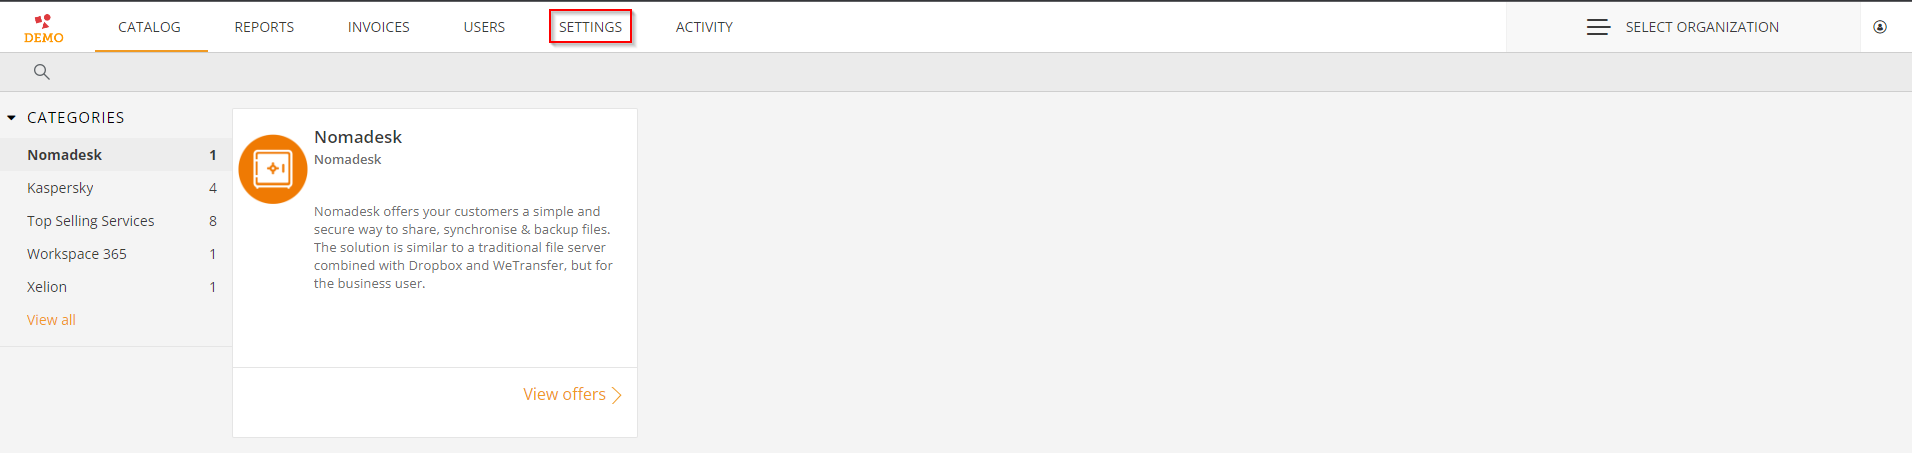
When you are logged in to our Copaco Cloud Portal go to “settings”.
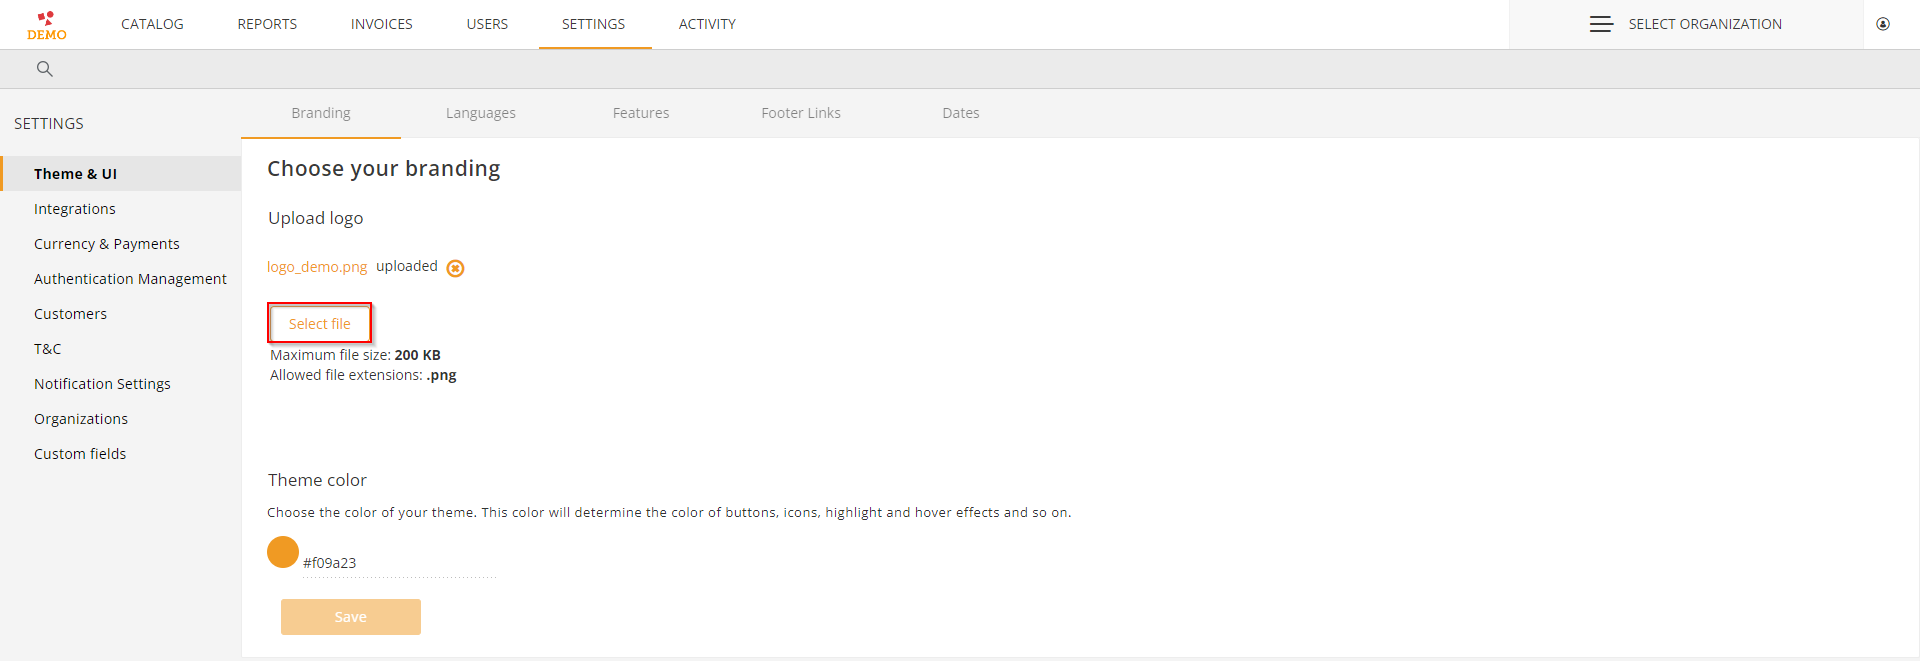
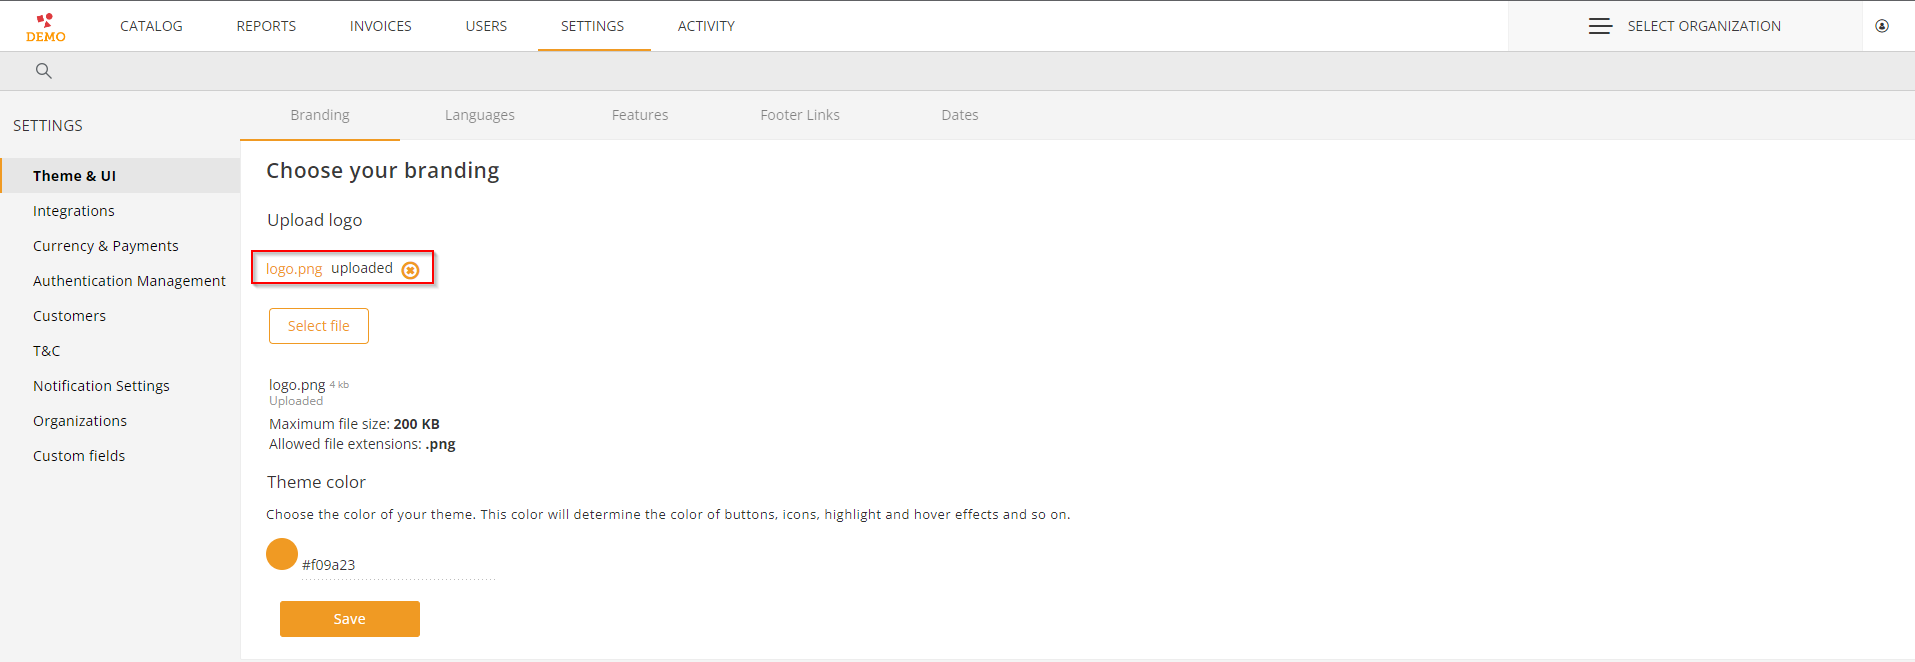
In the “settings” menu go to “Theme & UI” Here you can upload your own logo by clicking on “Select file”.(your logo must have the .png extention)
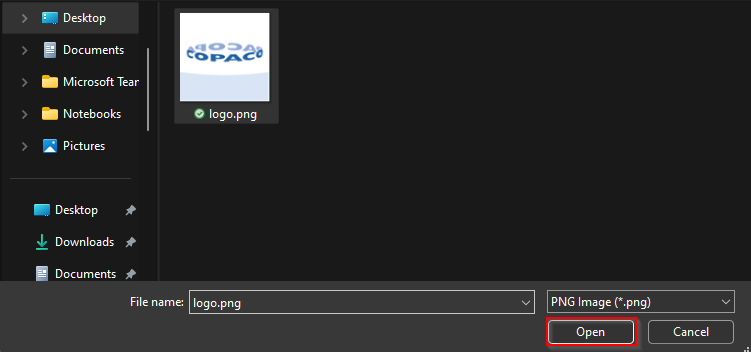
Select your logo and click Open.
Now our Copaco logo is uploaded to our platform.
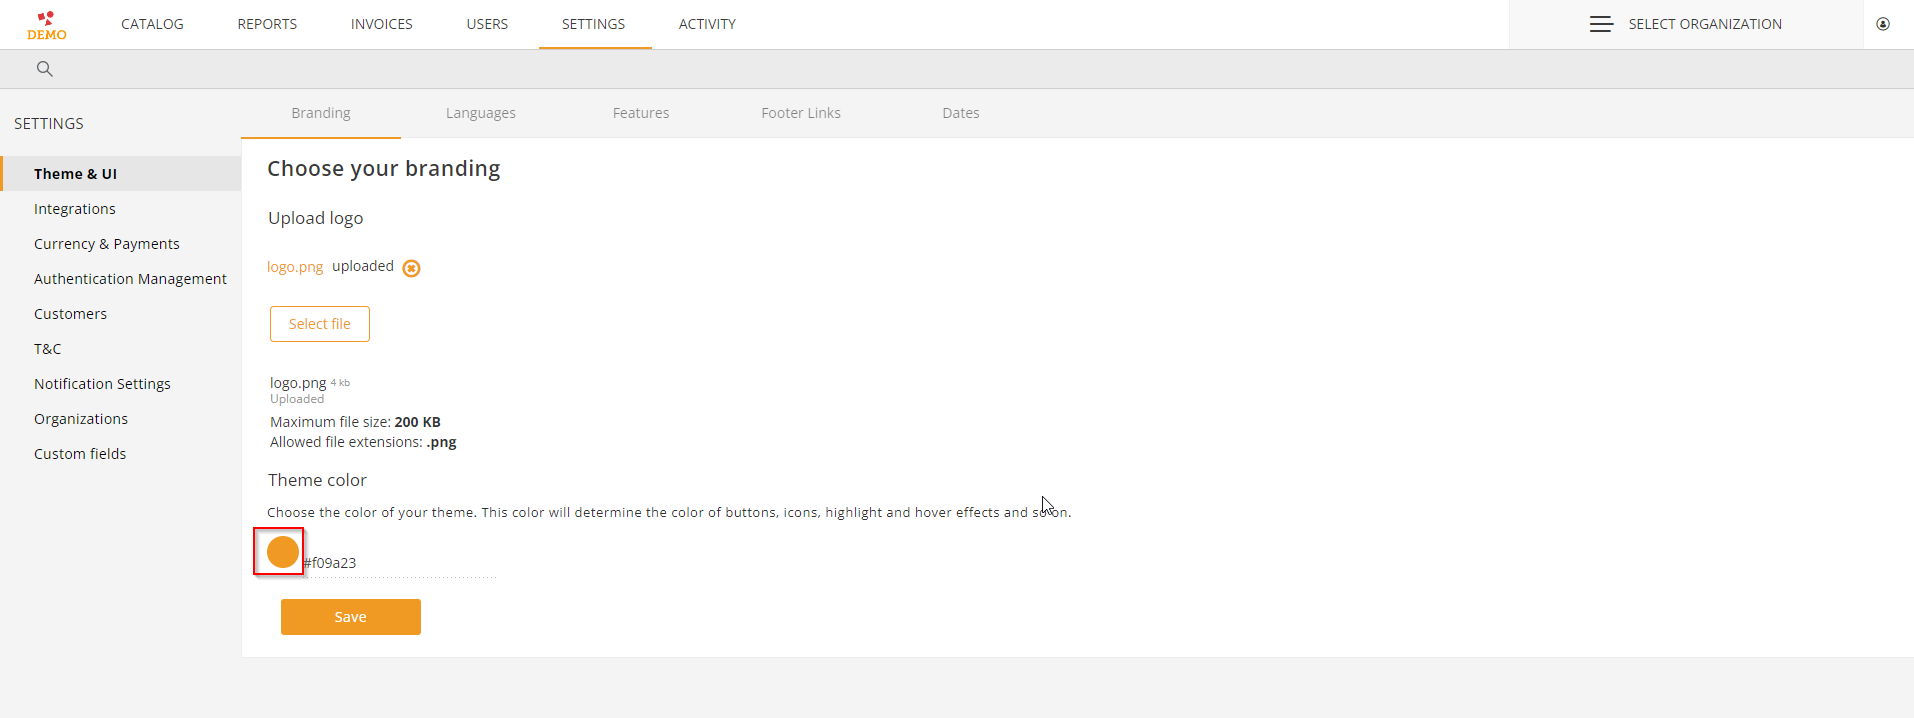
You can also change the color of the buttons, icons and highlights if you want by clicking on the orange dot.
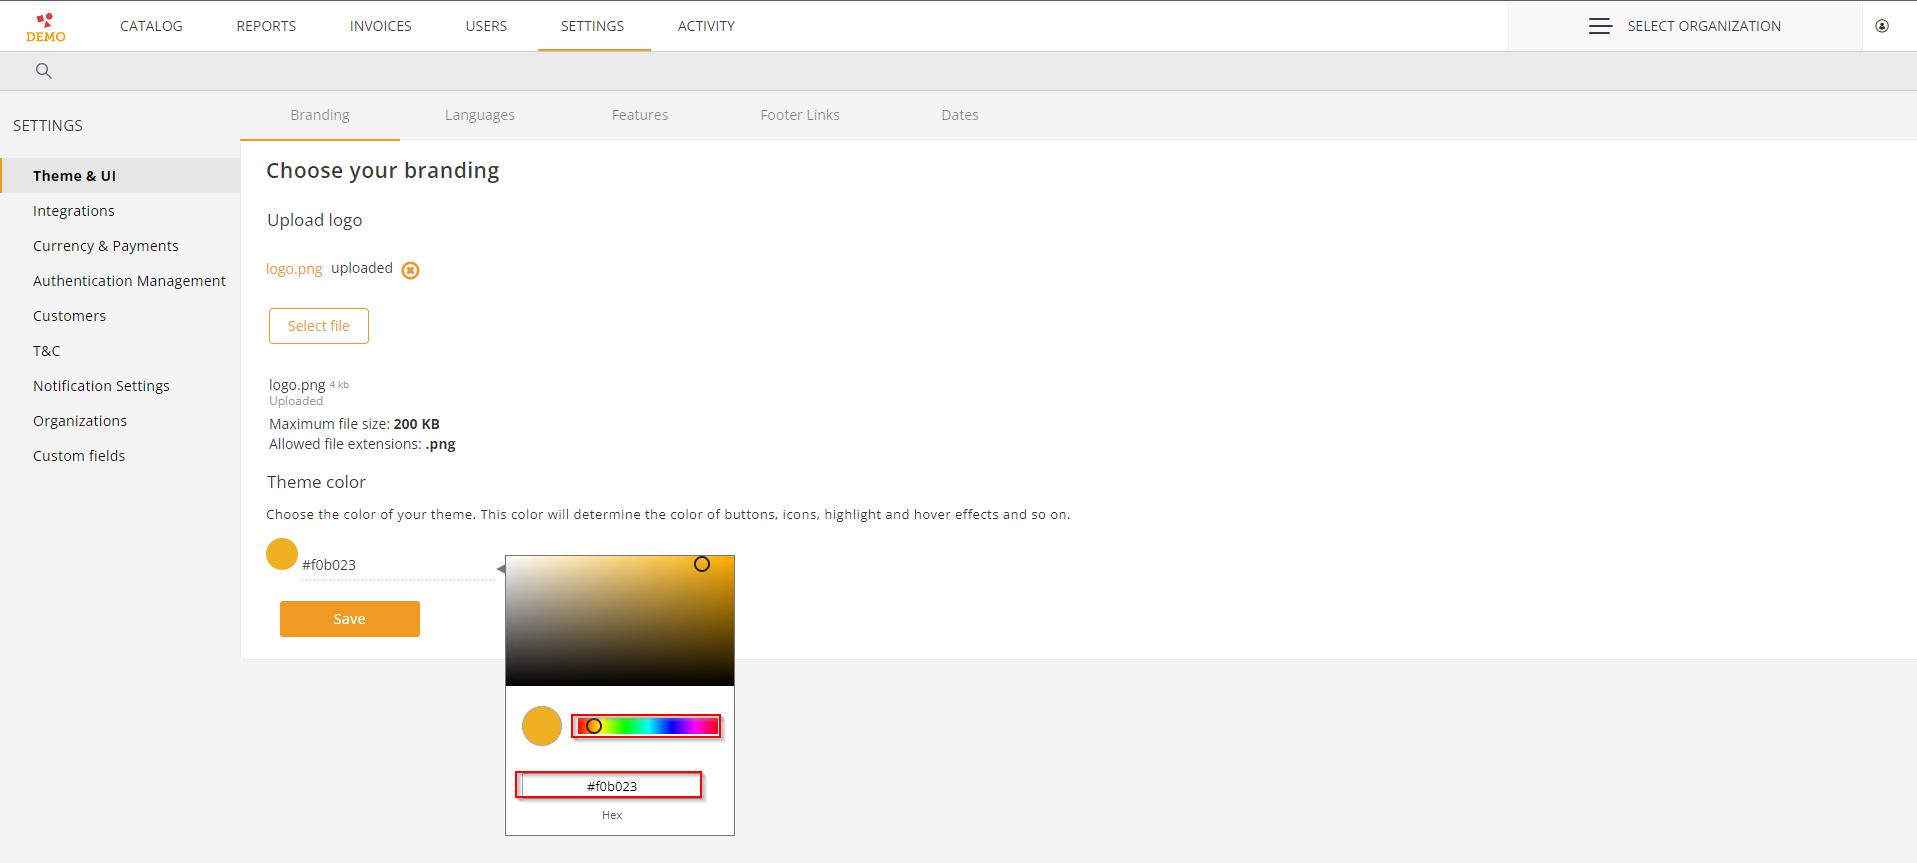
This will open a color menu. You can use the slider to select your color our enter a color code.
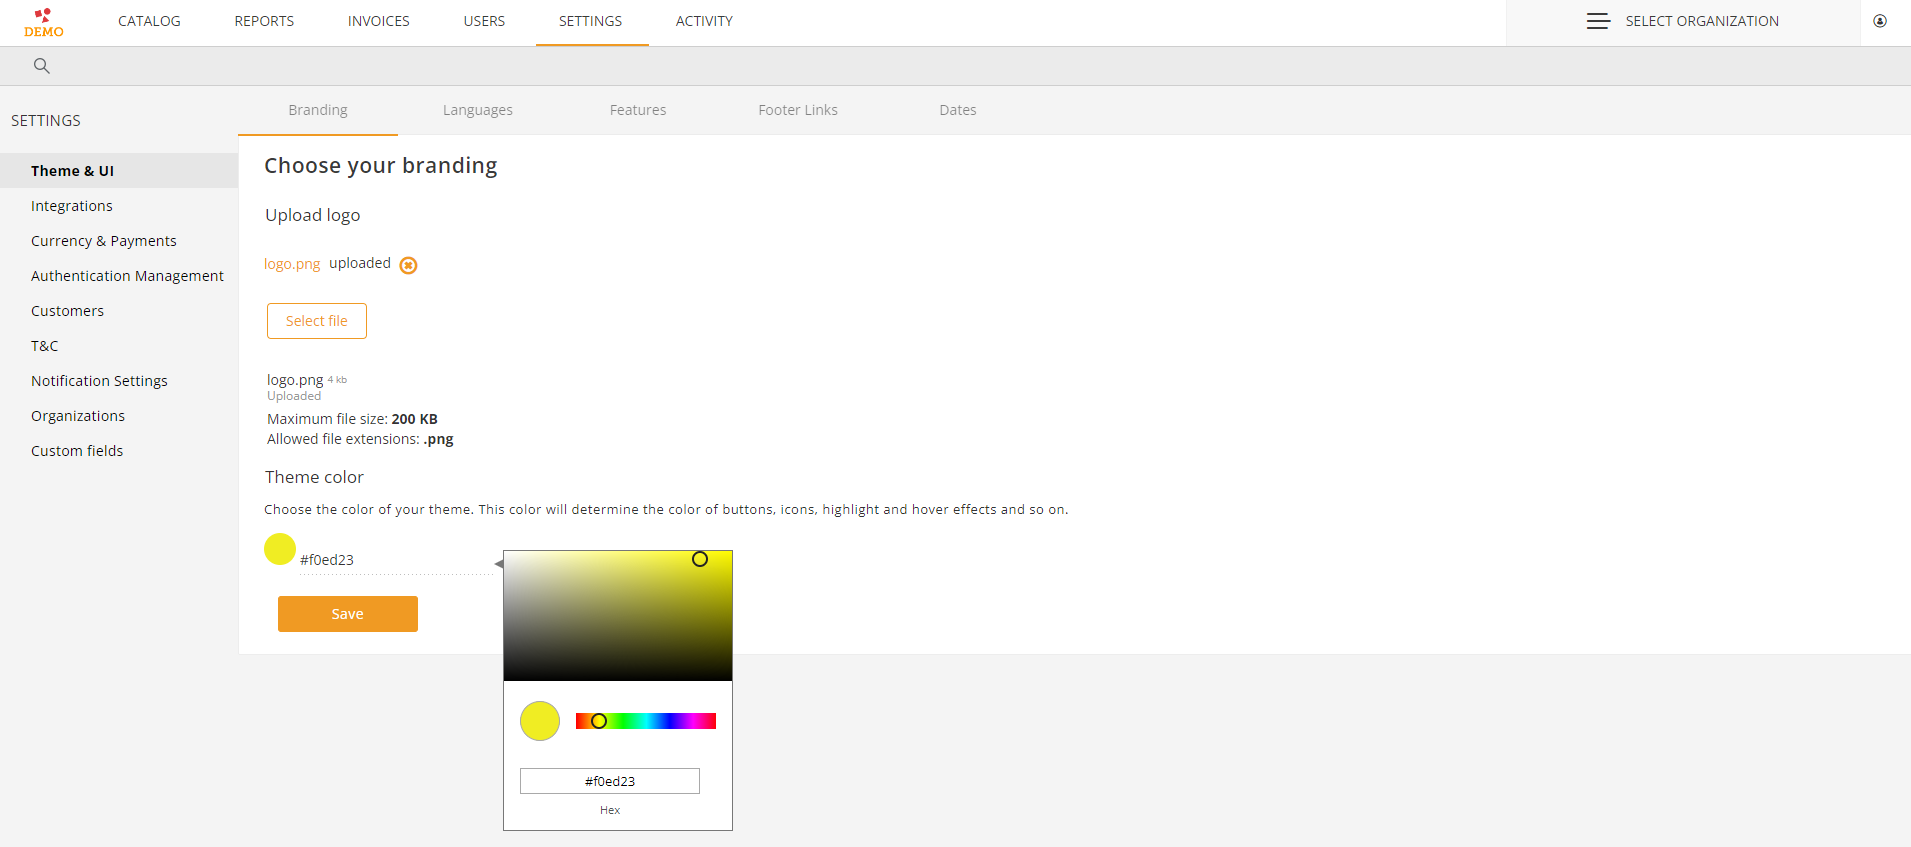
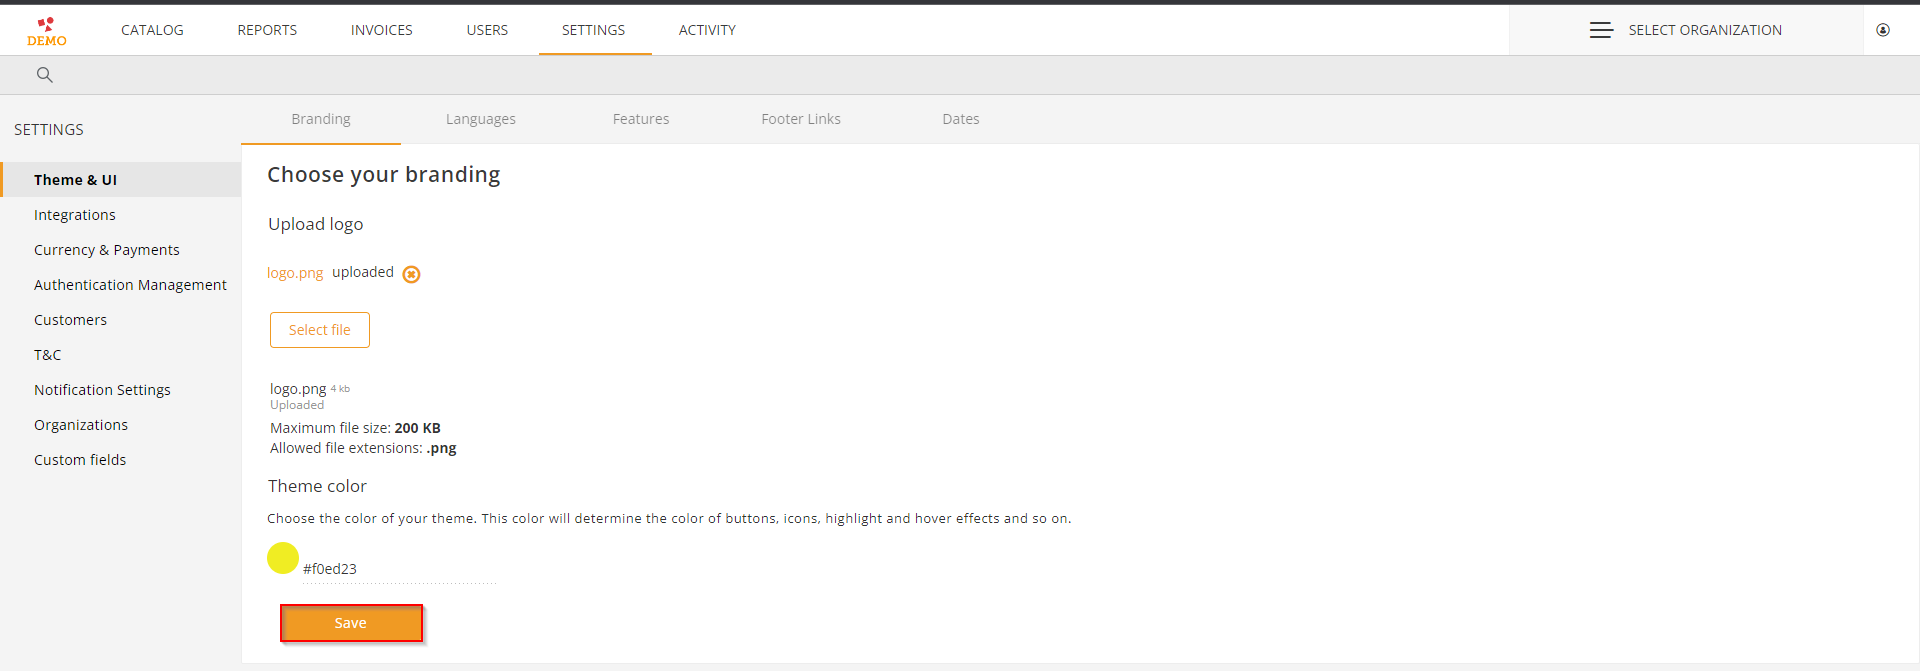
In this example we are going to change the color to yellow Slide to the yellow color our enter the color code. When done click somewhere outside the color box.
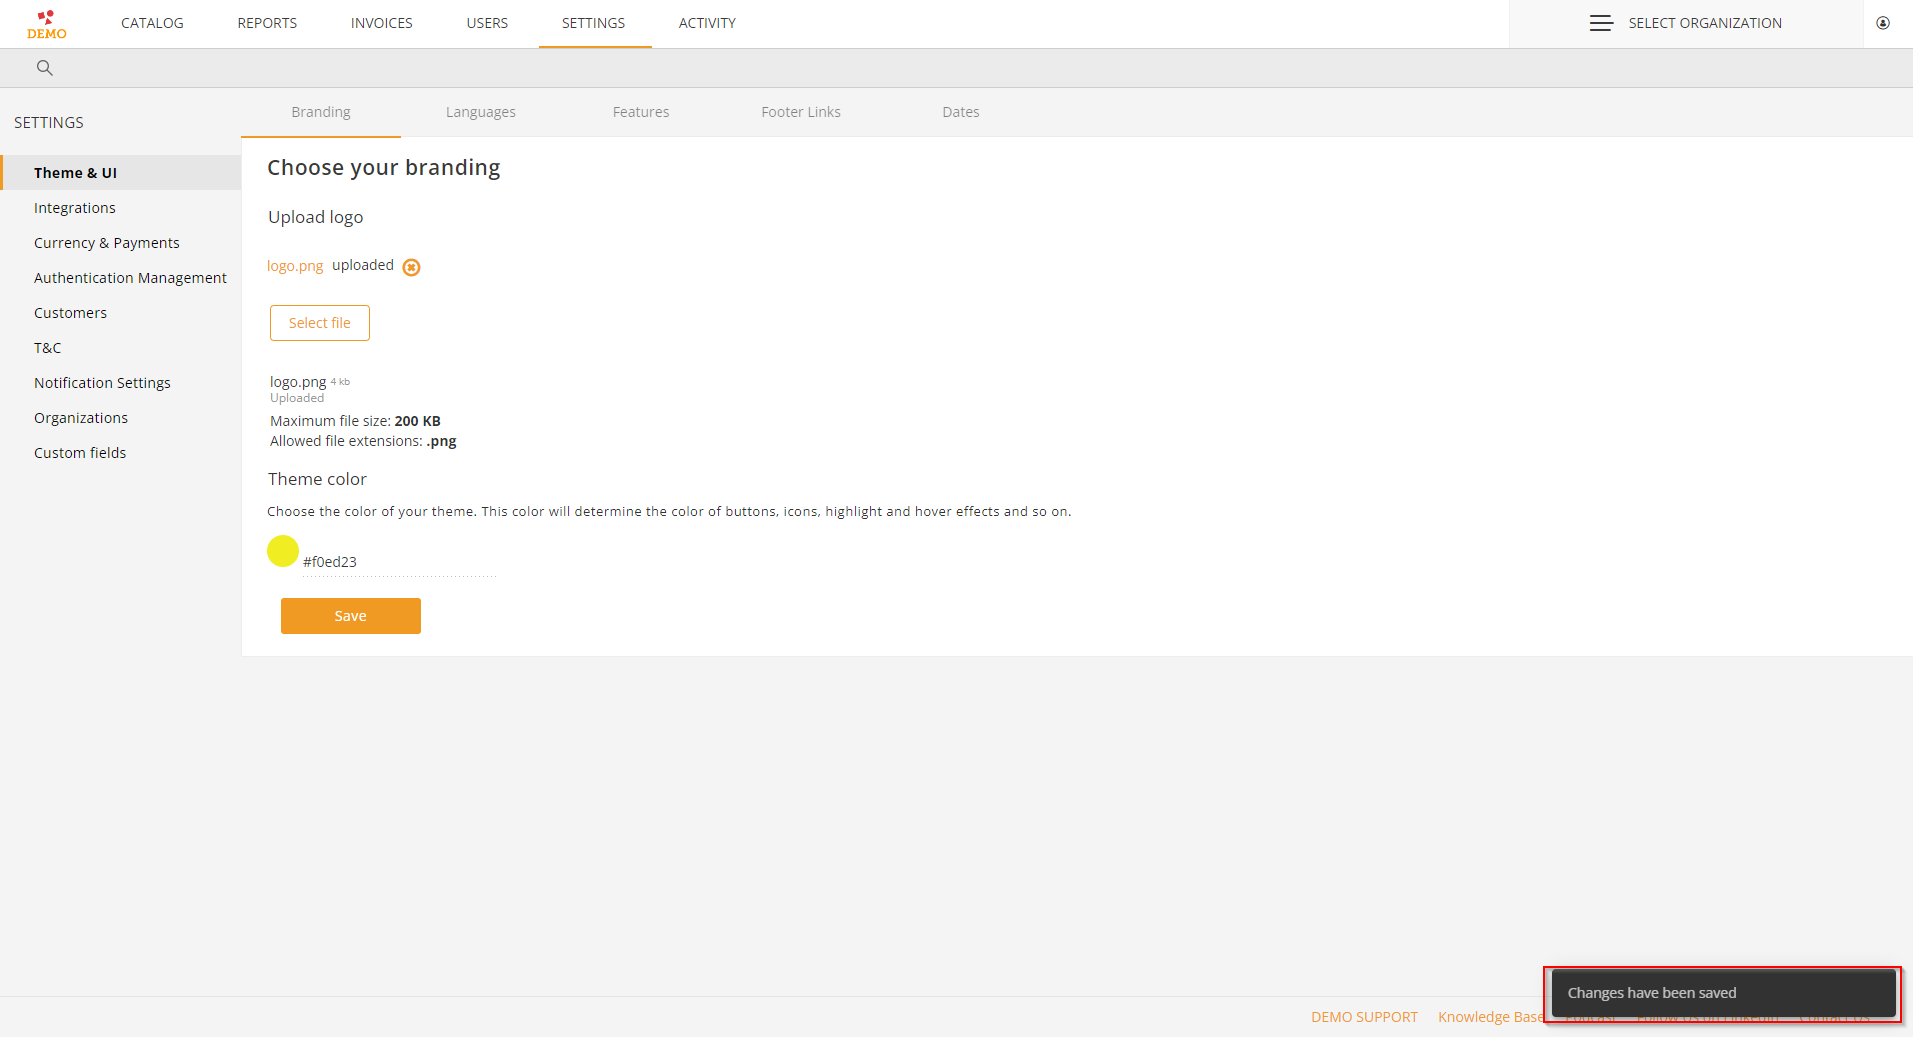
Click “Save”.
The message “changes has been saved” will be displayed in the left corner.
Now when you re-login you will see that the changes are applied.