
How to configure O365 SAML Authentication for Copaco VMware Cloud.
Summary
Enable your organization to use a Security Assertion Markup Language (SAML) identity provider, also called single sign-on, to import users and groups from a SAML identity provider and allow imported users to sign on to the organization with the credentials established in the SAML identity provider. This article describes how you can configure O365 SAML authentication.
Prerequisites
An active Copaco VMware Cloud subscription;
An account with administrator permissions on the Copaco VMware Cloud environment;
An Office 365 environment.
Getting Started
Login to the customer tenant environment from Copaco VMware Cloud.
Go to Administration, click SAML in the left panel of your screen and click CONFIGURE.

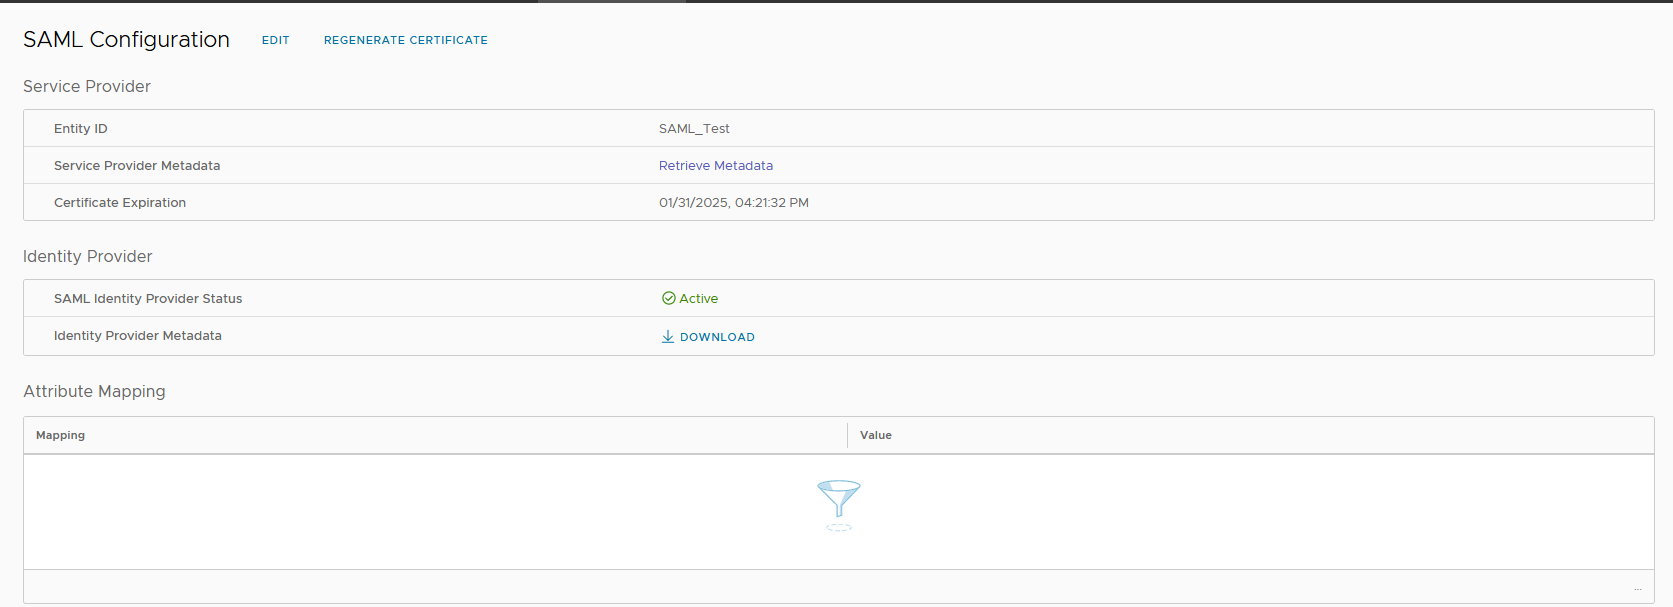
If the certificate is almost expired, renew it by clicking REGENERATE CERTIFICATE.

In the Service Provider tab, enter a Entity ID and click Retrieve Metadata to download the metadata.
This is the unique identifier of your organization to your identity provider. Usually your company name.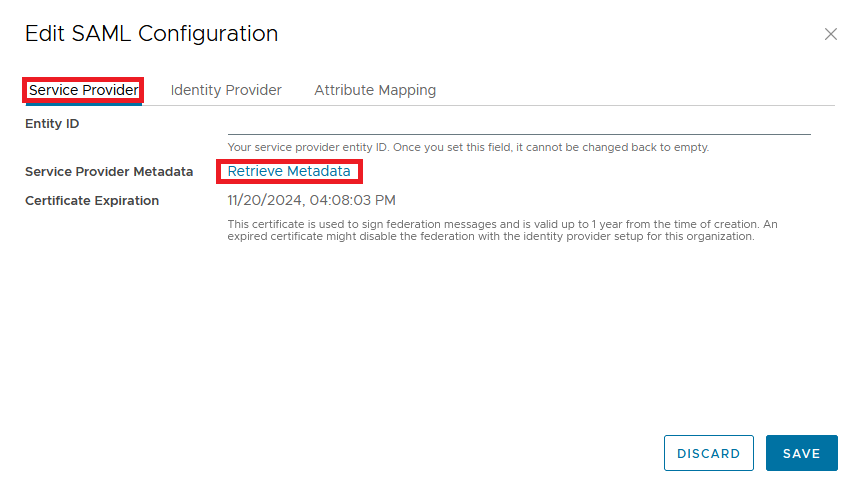
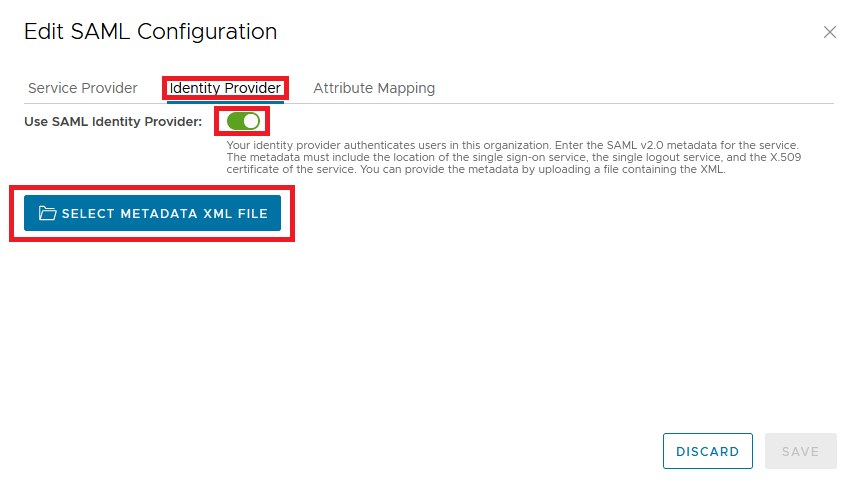
Go to the Identity Provider tab, enable the Use SAML Identity Provider option, and click SELECT METADATA XML FILE.
Browse and choose the file you downloaded in step 3 and click Save.
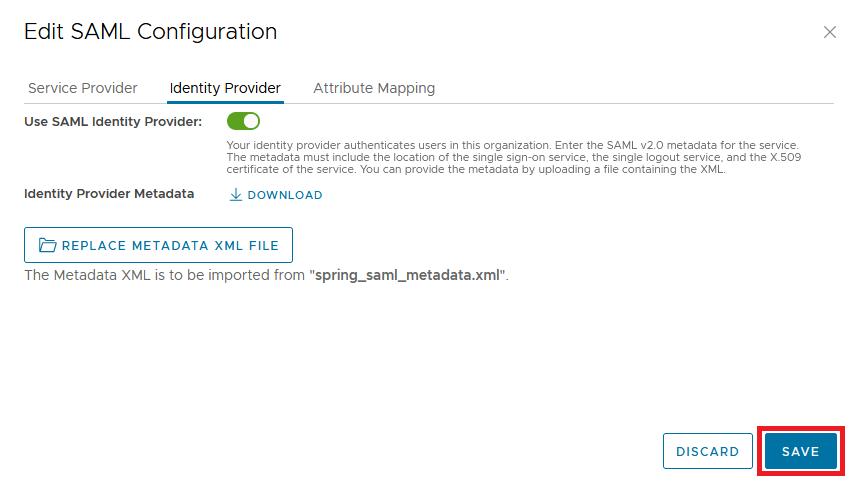
Your screen should look like this.
Now you need to configure your SAML provider with the VMware Cloud Director metadata. You can do this by following: https://learn.microsoft.com/en-us/power-pages/security/authentication/saml2-settings-azure-ad#create-an-app-registration-in-azure.
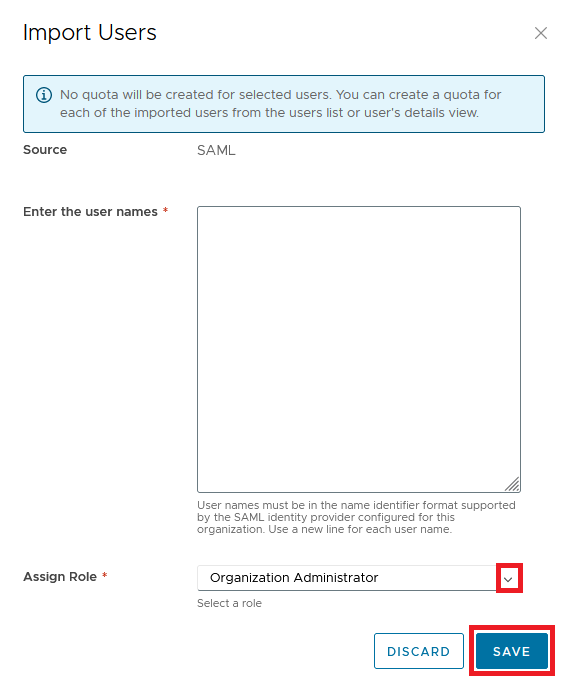
Go to Administration, click USERS in the left panel of your screen and click IMPORT USERS.

Enter the usernames, assign a role using the drop-down menu and click Save.
Now you can login to Copaco VMware Cloud using your Microsoft account.