
How to create a customer - NEW
Summary
You can create customers in your Copaco Cloud Portal to purchase licenses. This article will describe how you can create a customers.
Prerequisites
An account on your Copaco Cloud Portal.
Getting started
Login to your Copaco Cloud Portal.
Click SELECT ORGANIZATION in the top right of your screen.

Click Create new.

Fill in the required fields.
General:
- Short name: A short name of the company. E.g. Copaco
- Full name: The full name of the company. E.g. Copaco Netherlands B.V.
- ERP ID: The customer ID in your bookkeeping software. E.g. 123
- Registration number: Chamber of Commerce number. E.g. 17048595
- Tax ID: Tax ID from your customer (btw nummer). E.g. NL006486253B01
- Currency: The currency that will be used in the platform. E.g. Euro
- Industry: Choose what status the customer has. E.g. Non-profit
Primary Address:
- Country: This is the country where the customer is located. E.g. Netherlands
- City: This is the city where the customer is located. E.g. Eindhoven
- State/Province (optional): This is the state or province where the customer is located. E.g. Noord Brabant
- Address: This is the address from the customer. E.g. Hoevenweg 21
- Secondary address (optional): This could be the 2nd address from the customer.
- Zip/Postal code: This is the postal code from the customer. E.g. 5652AW
Primary contact information:
Note: The primary contact person is used as contact person for Copaco Cloud.
- First name: This is the first name of the main contact person from the customer. E.g. Jan
- Last name: This is the last name of the main contact person from the customer. E.g. Janssen
- Role: This is the role that the main contact person has. E.g. CEO
- Email address: This is the email address from the main contact person. E.g. Jan.Janssen@company.nl
- Phone number: This is the phone number from the main contact person. E.g. +31(0)123456789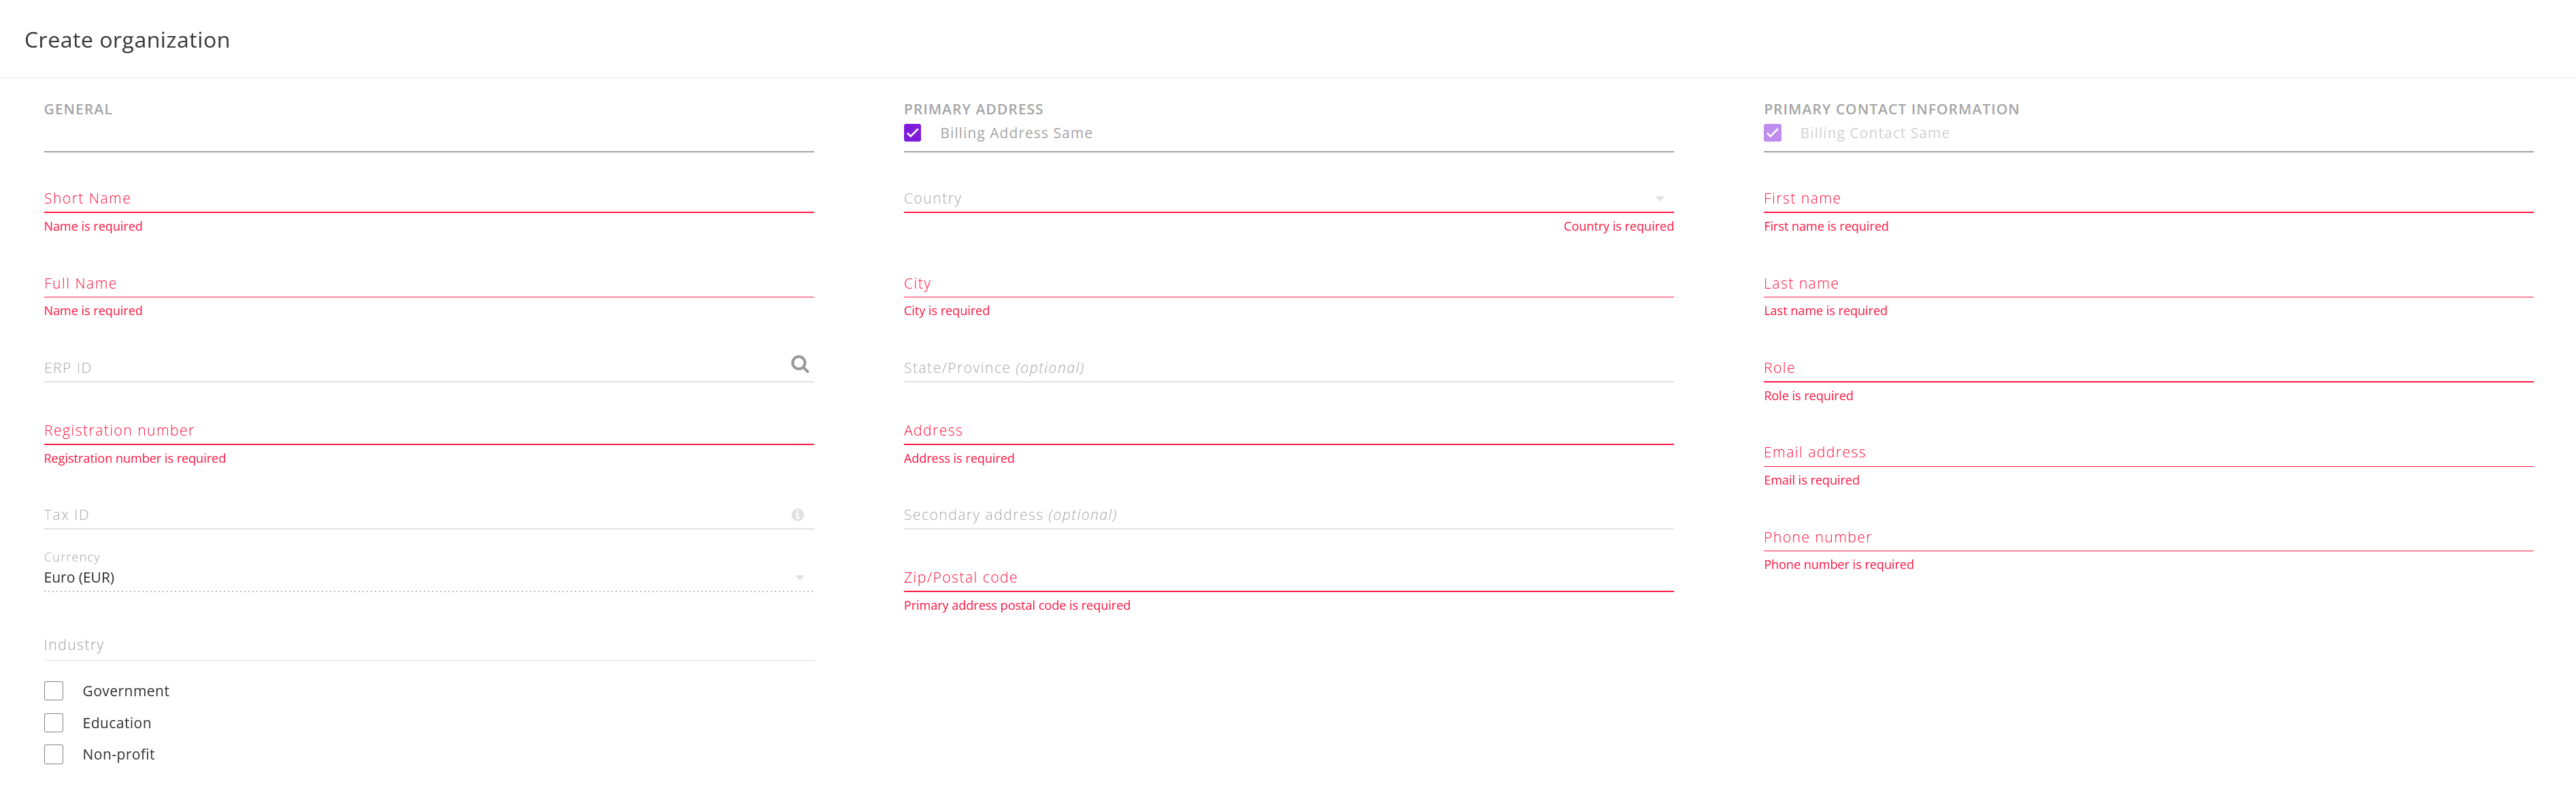
Click Create.
Now the customer is created, the customer account has to be activated:
Navigate to your customers by clicking SELECT ORGANIZATION and click Profile next to the customer.
You can see the status of a customer by checking the ‘STATUS’ column.
Click Approve.
