
How to create a firewall rule
Summary
To control the incoming and outgoing network traffic to and from the edge gateway, you create firewall rules. This article describes how you can create a firewall rule.
Prerequisites
An active Copaco VMware Cloud subscription;
An account with administrator permissions on the Copaco VMware Cloud environment;
An an Organization Network.
Getting Started
Login to the customer tenant environment from Copaco VMware Cloud.
Click Edges, select the Edge gateway rule and click Services.

Go to the Firewall tab and click the + icon.

A new rule is created. Double click the text “New Rule” and enter a preferred name. In this case I’ll name it Block traffic.

Move your mouse to the Source field and choose IP or +. If you leave this field empty it will be Any.

If you click IP, you can manually enter an IP address, CIDR or IP Range. Click Keep to continue.

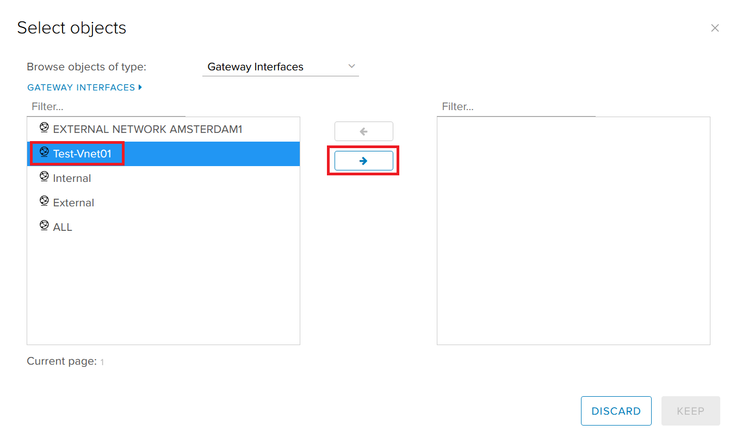
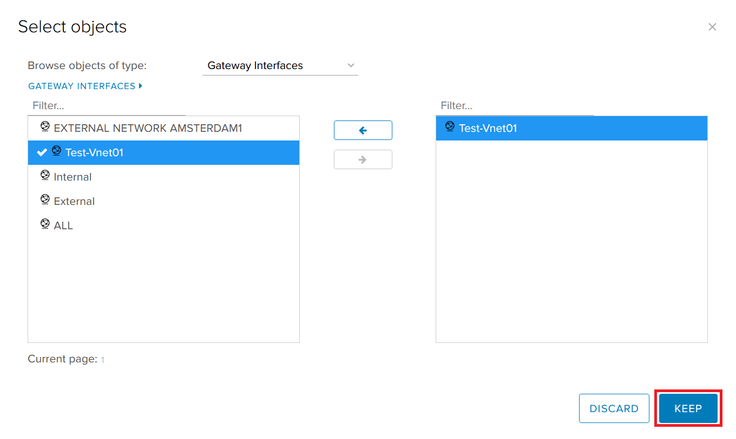
If you click +, you can select an object. Click Keep to continue.
Move your mouse to the Destination field and choose IP or +. If you leave this field empty it will be Any.

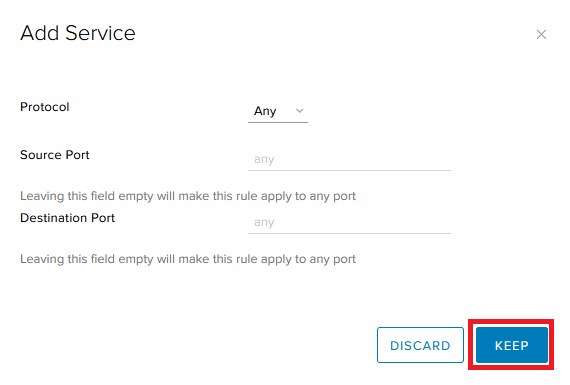
Move your mouse to the Service field and click +. If you leave this field empty it will be Any.

Select a protocol, Source and Destination port and click Keep.
Move your mouse to the Action field and use the drop-down button to Accept/Deny

Check the Enable logging checkbox if you wish to enable logging for this rule.

Save the changes by clicking Save changes.
