
How to create a backup job using Veeam on Copaco VMware Cloud
Summary
After Veeam on Copaco VMware Cloud is purchased, Veeam backup jobs can be created within the Copaco VMware Cloud portal. This article will describe how to do this.
Prerequisites
An active Veeam on Copaco VMware Cloud subscription;
An account on Copaco VMware Cloud.
Getting Started
Login to the customer tenant environment from Copaco VMware Cloud.
Go to More and click Data Protection with Veeam.

In the Jobs tab, click + Create…

Give the backup job a name and click Next.

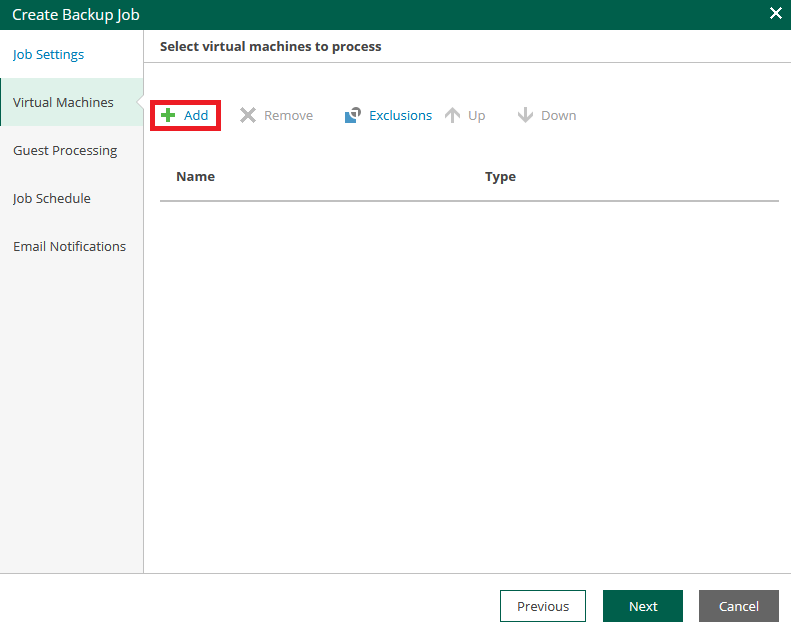
Click + Add to add one or more VM’s.
Select the Organization, Organization VCD or a VM.
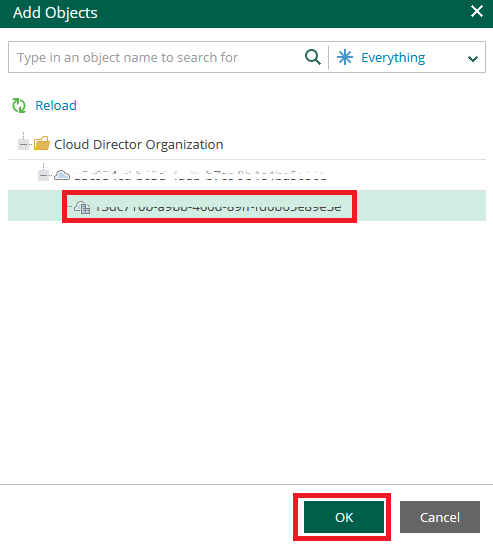
Click Next.
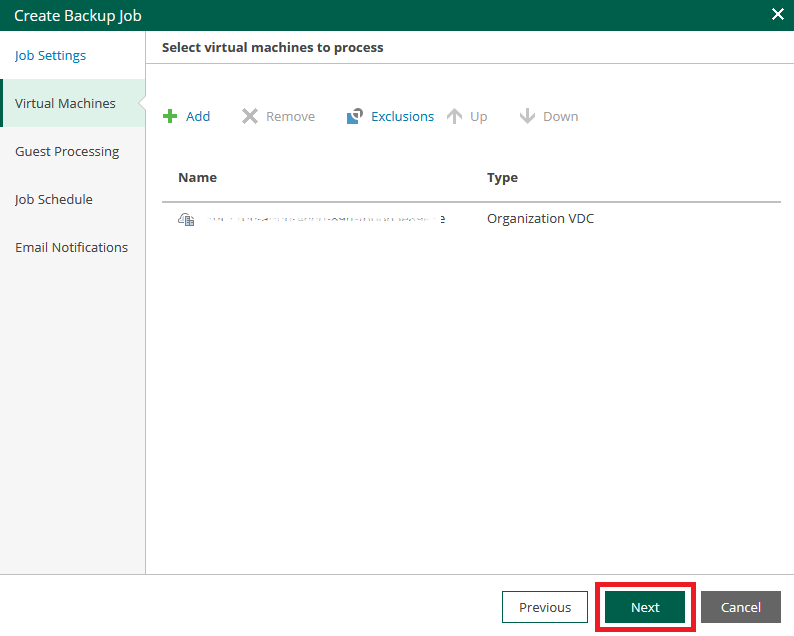
Click Next.
(Optional) Enable application-aware processing or guest file system indexing by checking the checkbox. If you do this, you have to enter Guest OS credentials.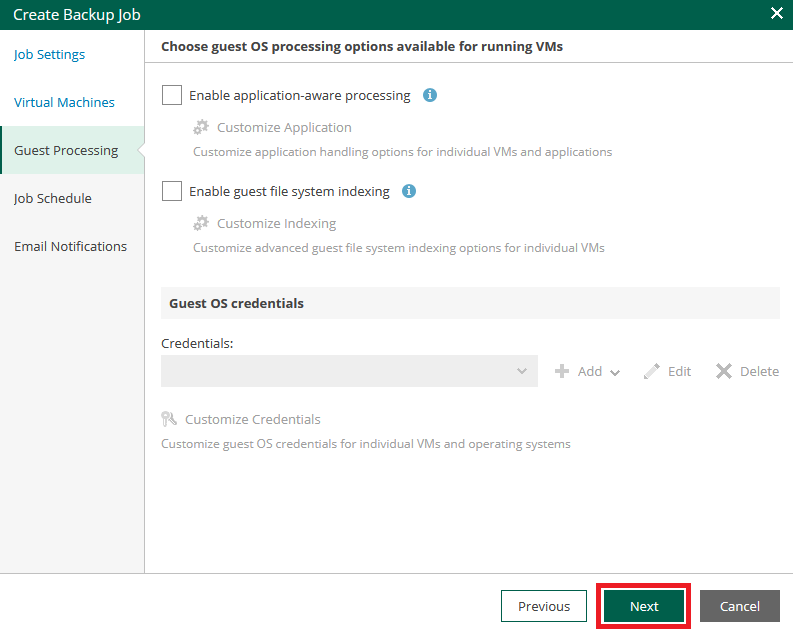
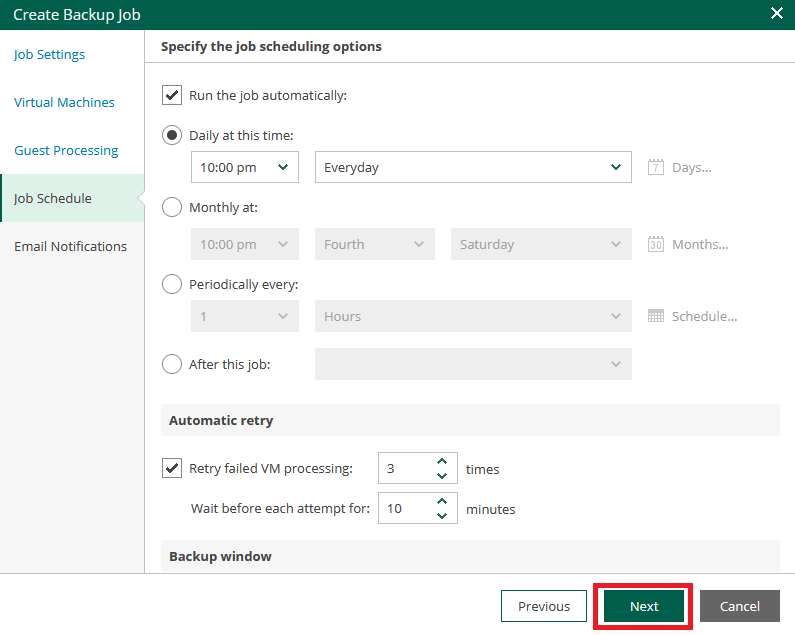
Specify a schedule for the backup job and click Next.
Click Finish.
(Optional) Enable e-mail notifications and configure the settings as preferred.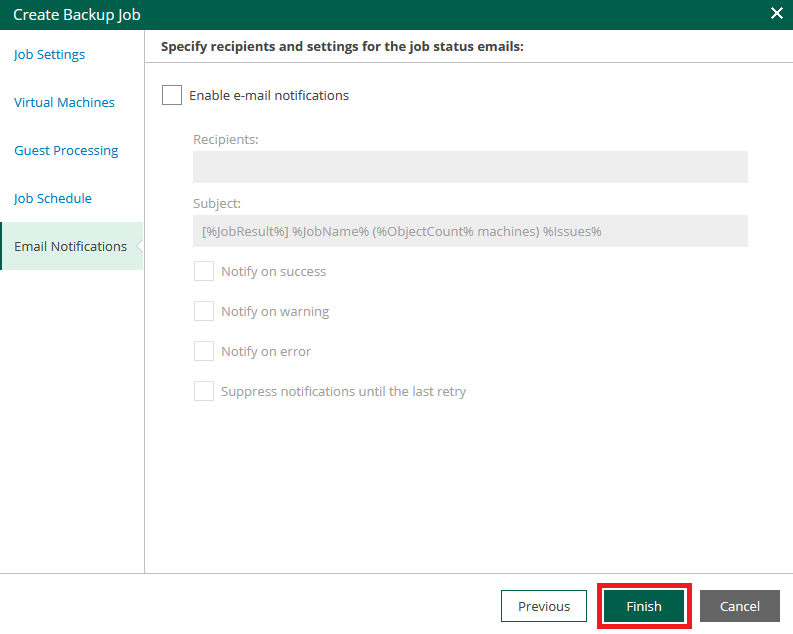
The backup job now has been created.