How to create and manage Backup Jobs
Summary
Backup jobs can be created and managed by a reseller in the Veeam Backup for Microsoft 365 portal. Make sure you sign in with the reseller credentials that you have configured during first order placement. Customer/Tenant users are only allowed to perform restores from backup jobs by default.
Prerequisites
An active Veeam Backup for Microsoft 365 subscription;
An account to login to our Veeam Backup for Microsoft 365 portal.
Getting started
Login to our Veeam Backup for Microsoft 365 portal using your credentials.
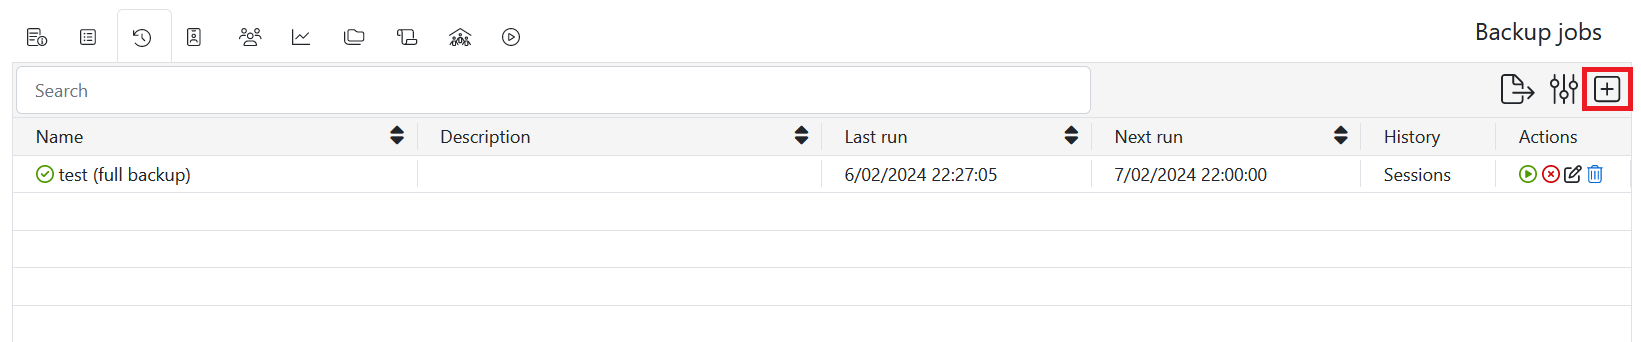
Via the Backup jobs menu, you can add, modify and delete backup jobs on your tenant.
Adding backup jobs
Click the + button to add a backup.
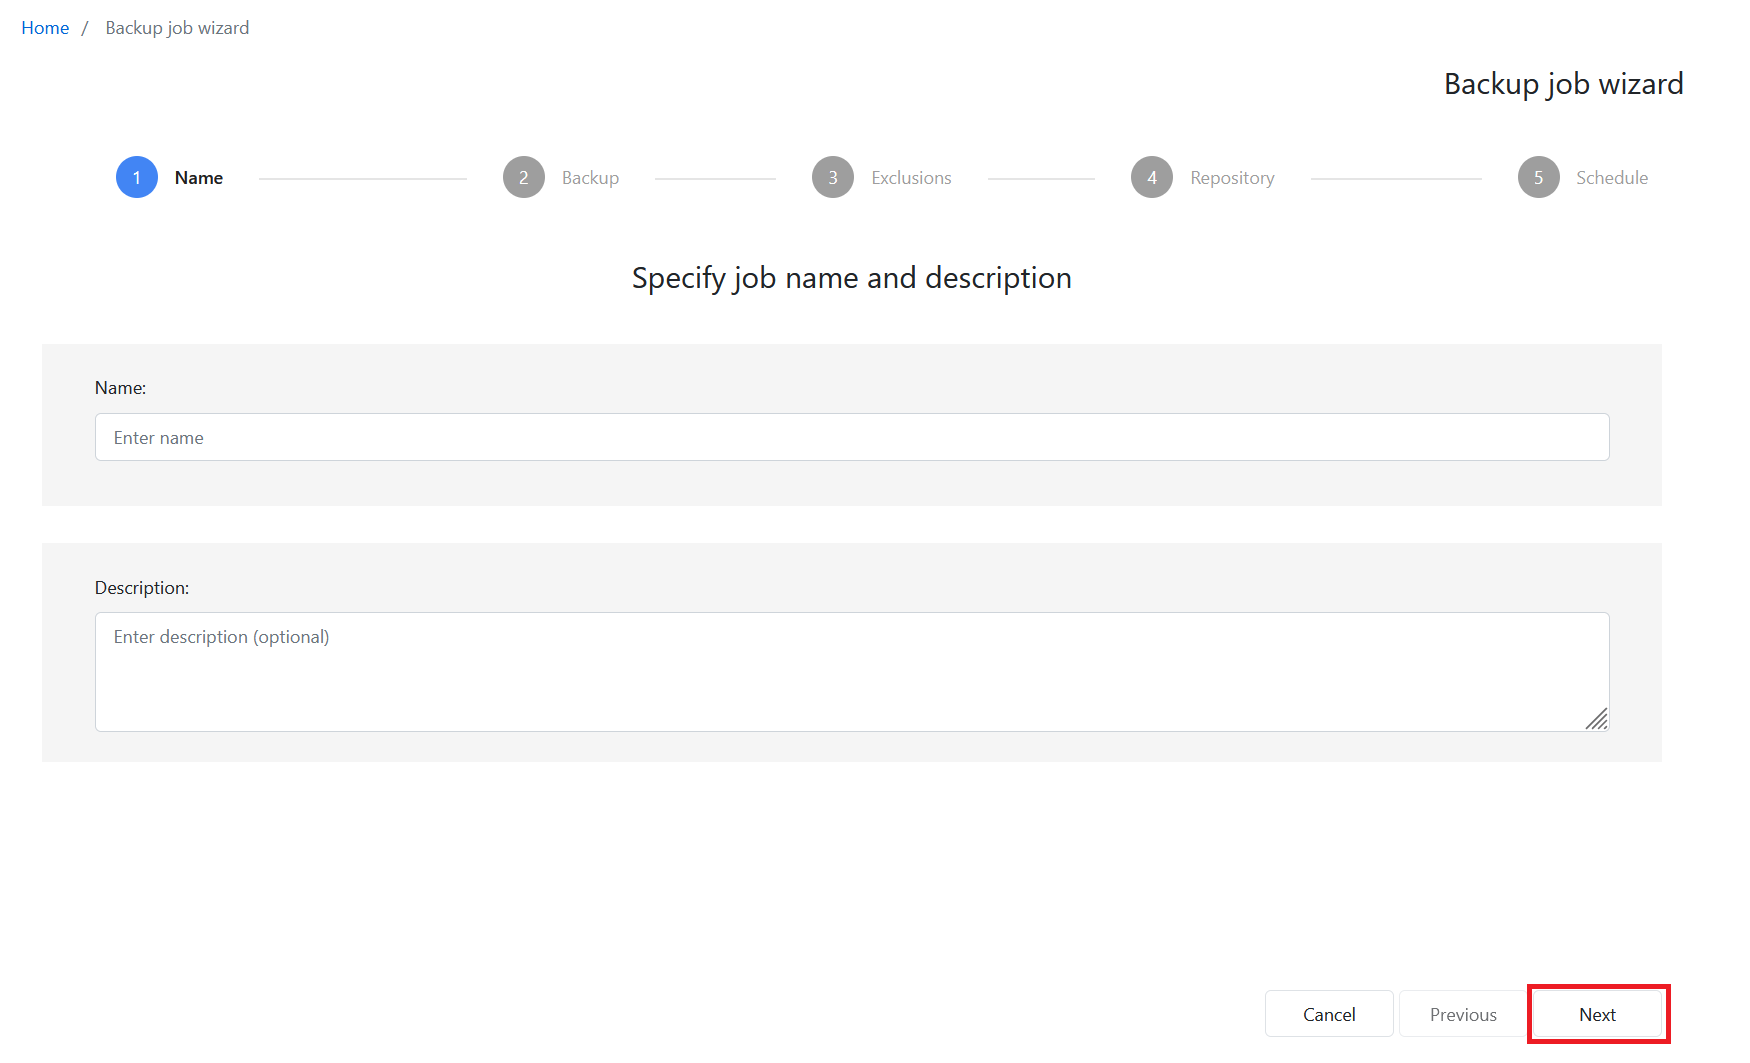
Provide a name for the backup and click Next.
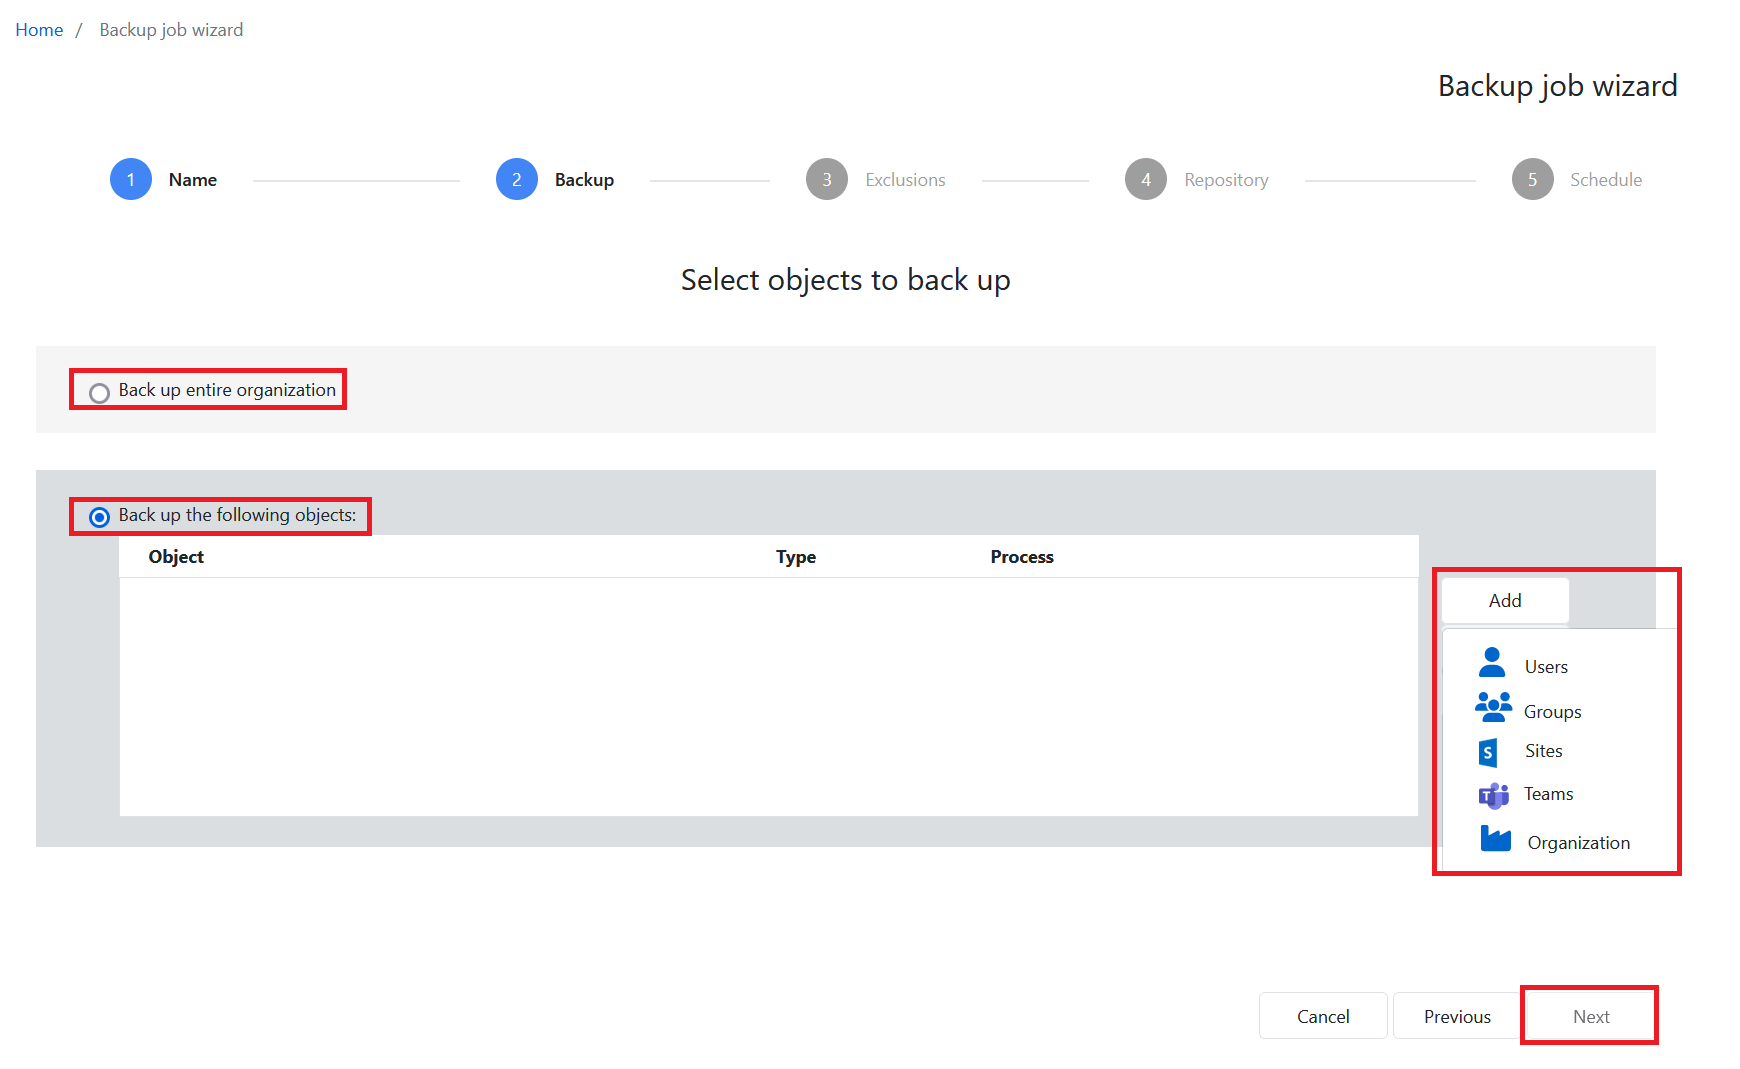
Choose whether you want to backup the entire organization or only certain objects. and click Next.
(Optional) click Add to add objects to exclude.
Click Next.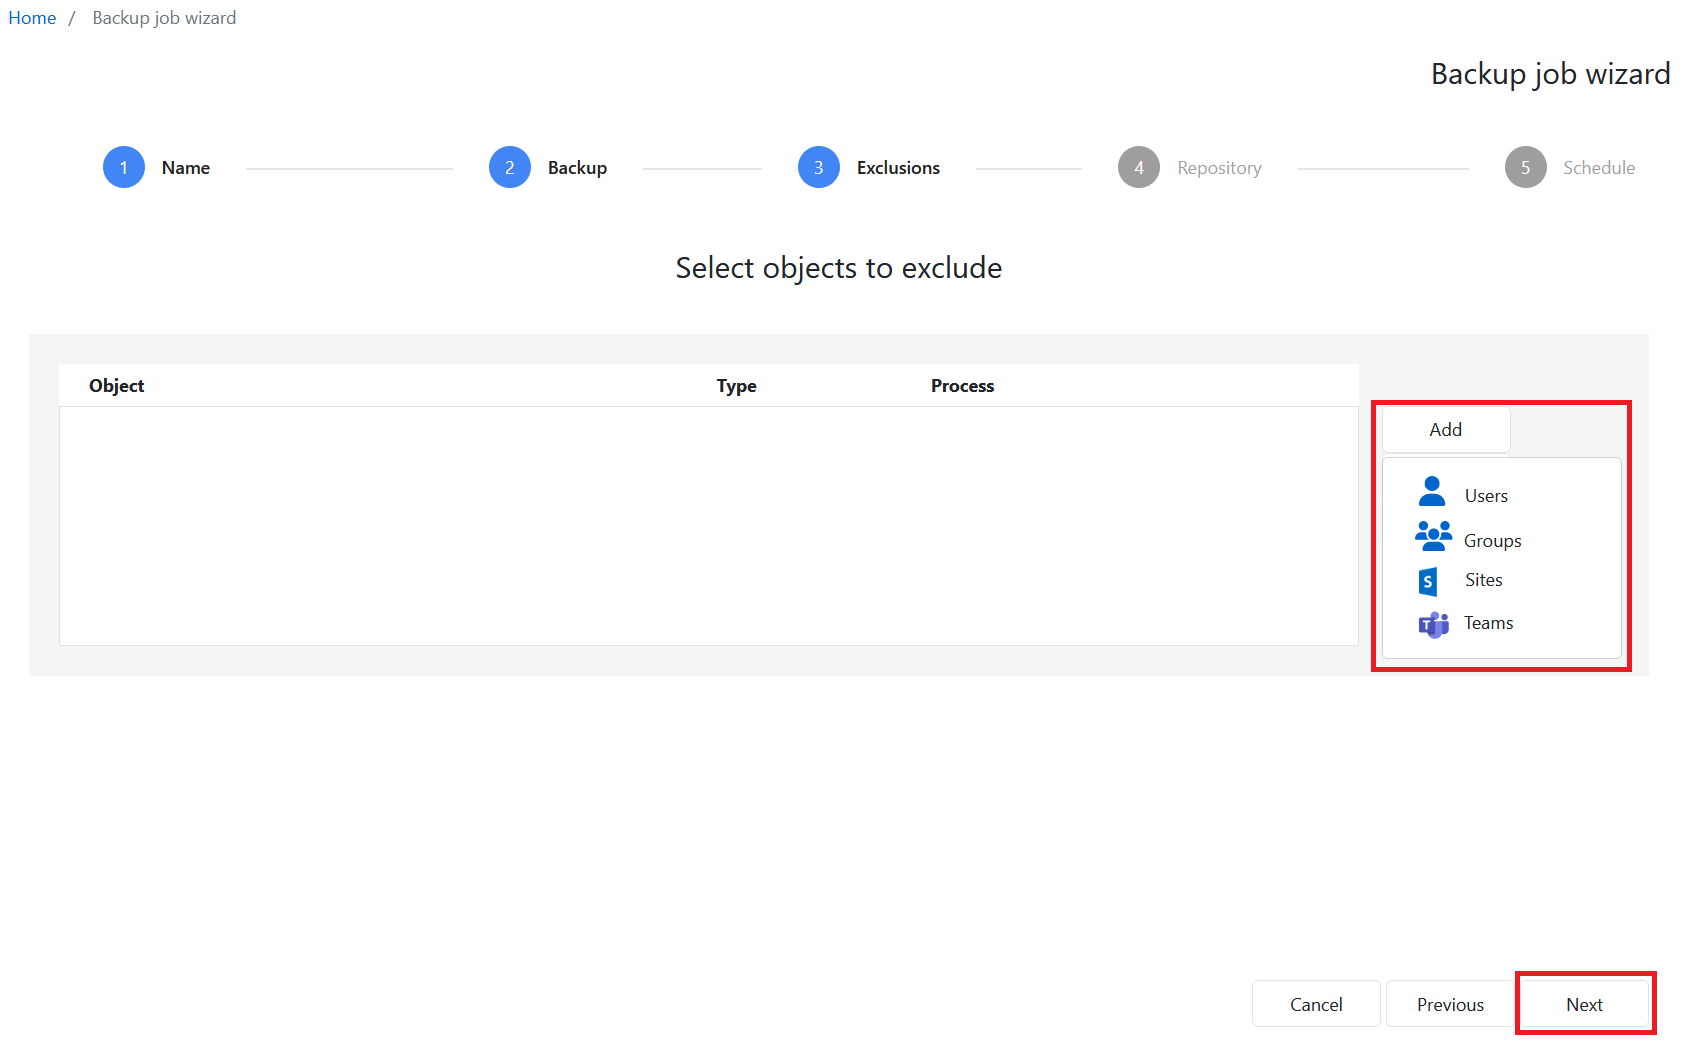
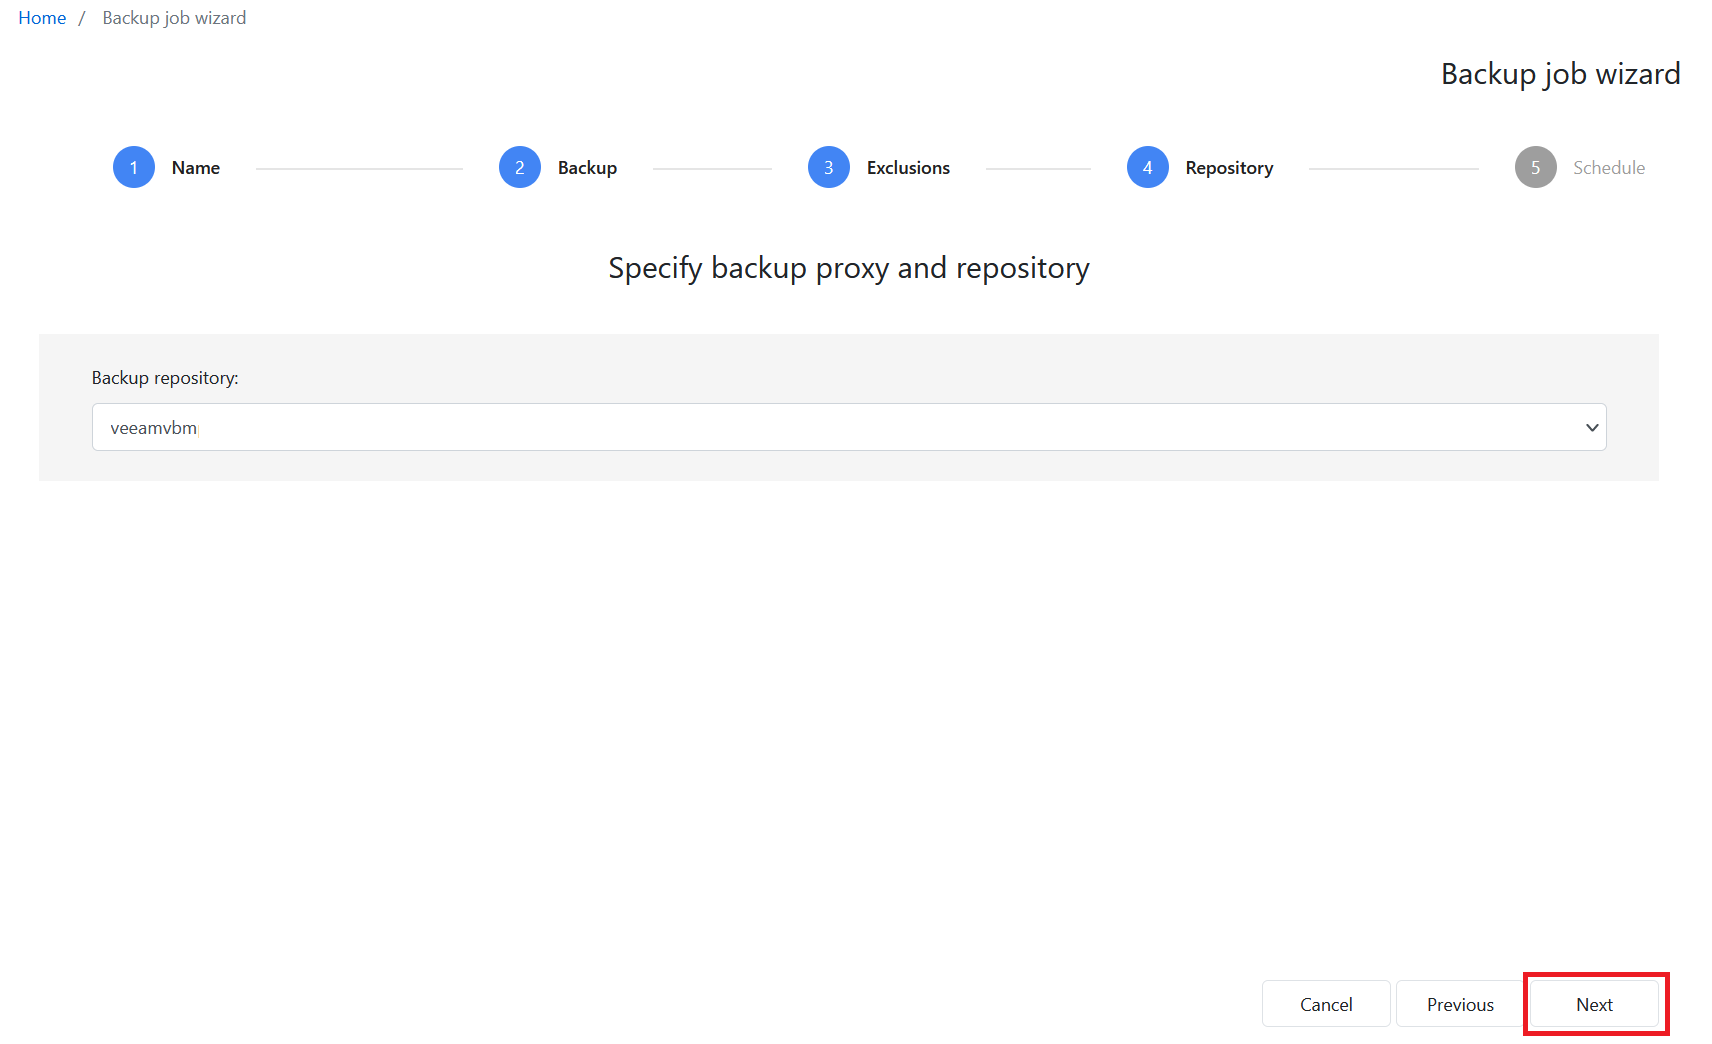
Specify the backup proxy and repository and click Next.
Specify the scheduling options and click Save.
(Optional) You can click Window… to specify a window for the backup.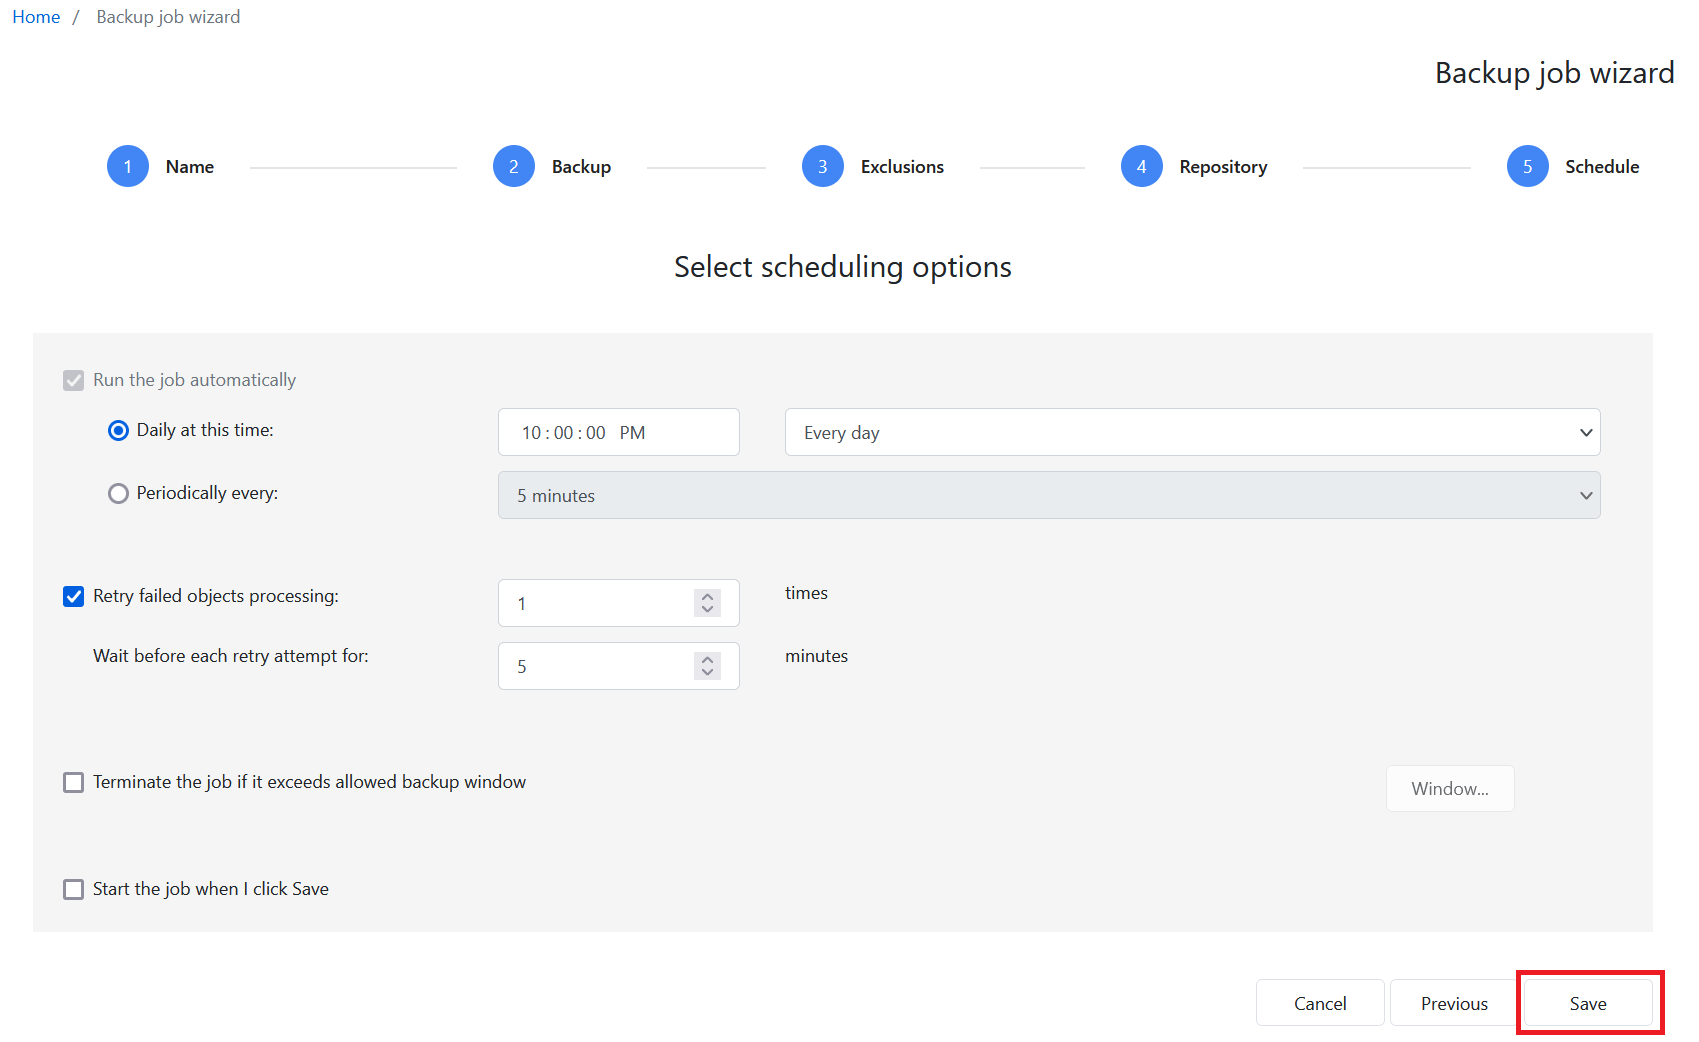
Click Finish.
(Optional) Add more email addresses to the notification list.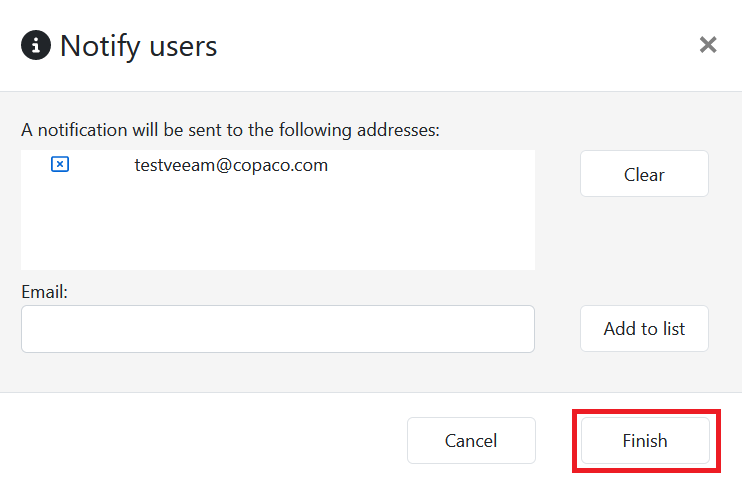
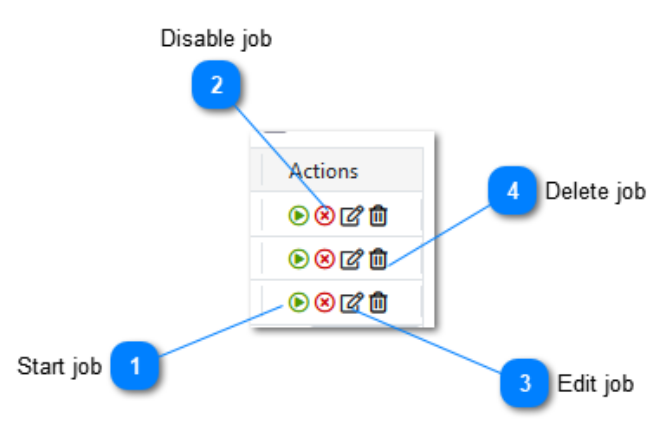
Backup job management
You can Start, Disable, Edit or Delete jobs via the Actions menu next to the backup jobs.
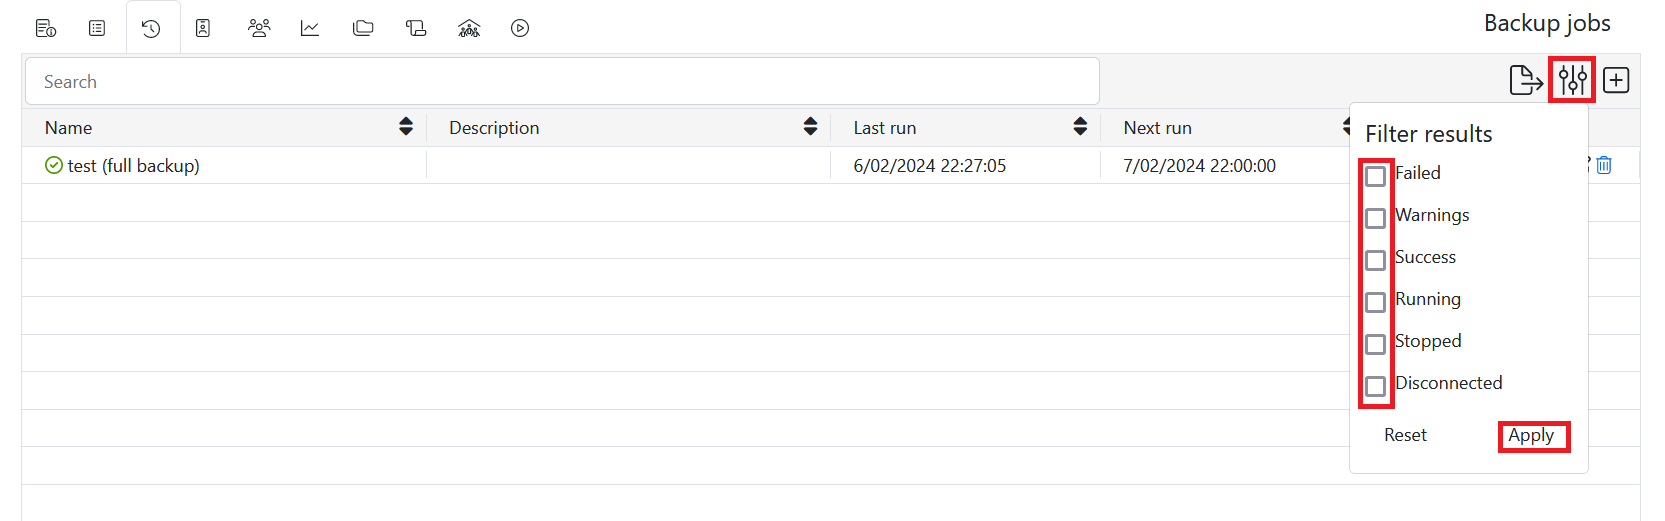
Filtering backup job results
To filter backups on a status you can apply a filter. Click the Filter icon, select the status and click Apply.
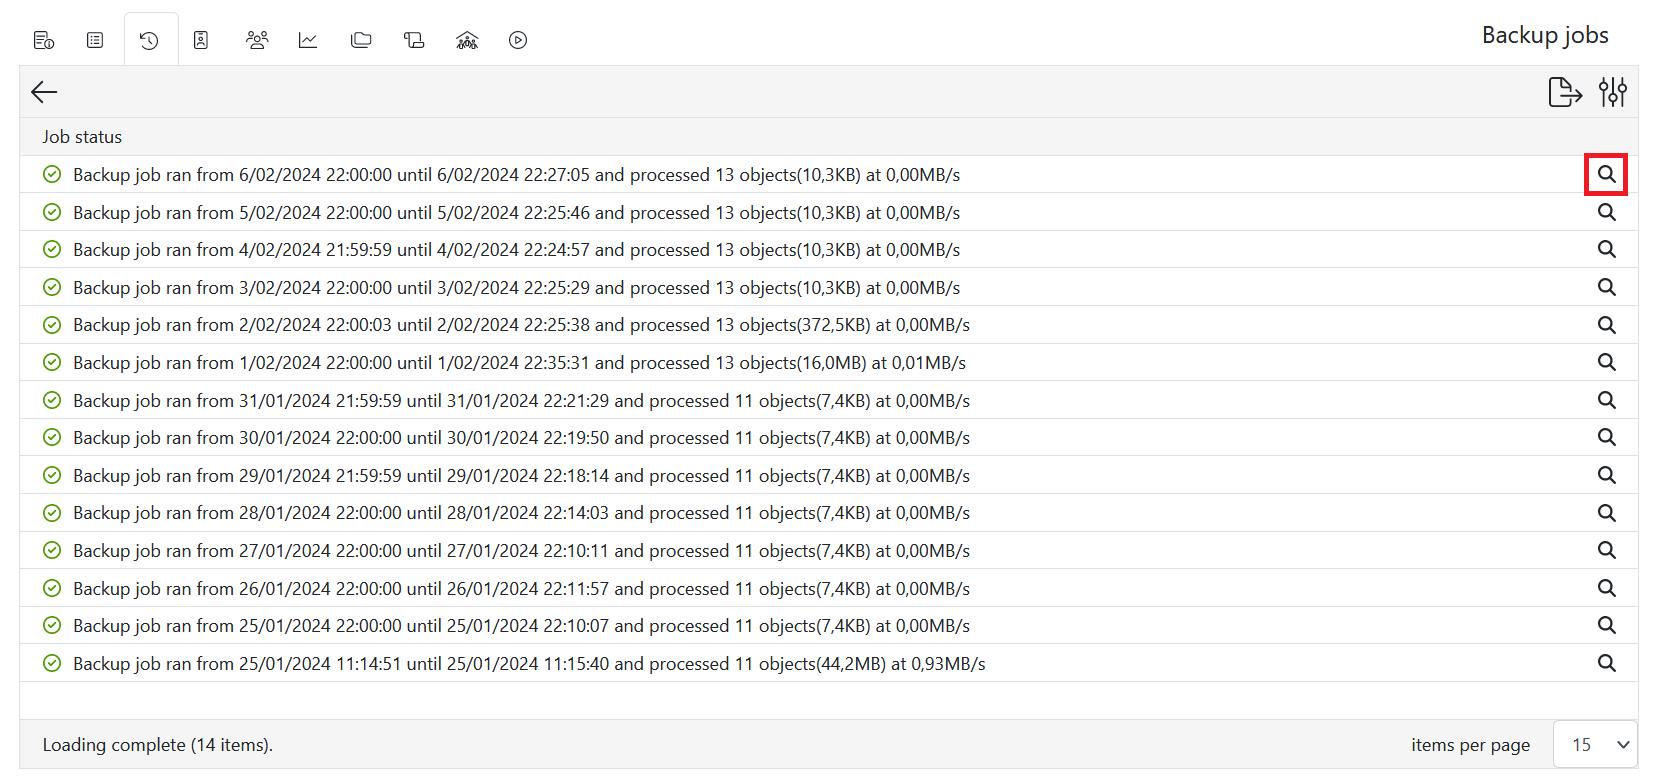
Backup history
To see the history of a certain backup, click Sessions under History.

To get detailed information, click the magnifier icon next to the job.