
How to downsize a Microsoft 365 subscription license
Summary
In case you want to lower the amount of Microsoft 365 licenses, you can place a change order. This article will describe how you can do this.
There are two different scenarios in which you can perform a downsize.
During the renew window from Microsoft (7 days).
Placing a scheduled order on renewal date.
Prerequisites
An account on your Copaco Cloud Portal;
An active Microsoft 365 subscription.
Getting Started
As mentioned above, there are two different scenarios to downsize your Microsoft 365 subscription.
Scenario 1 - During the renew window from Microsoft (7 days)
Login to your Copaco Cloud Portal.
Click SELECT ORGANIZATION in the top right of your screen and click the name of the customer.

Under SUBSCRIPTIONS, click the subscription you wish to adjust.

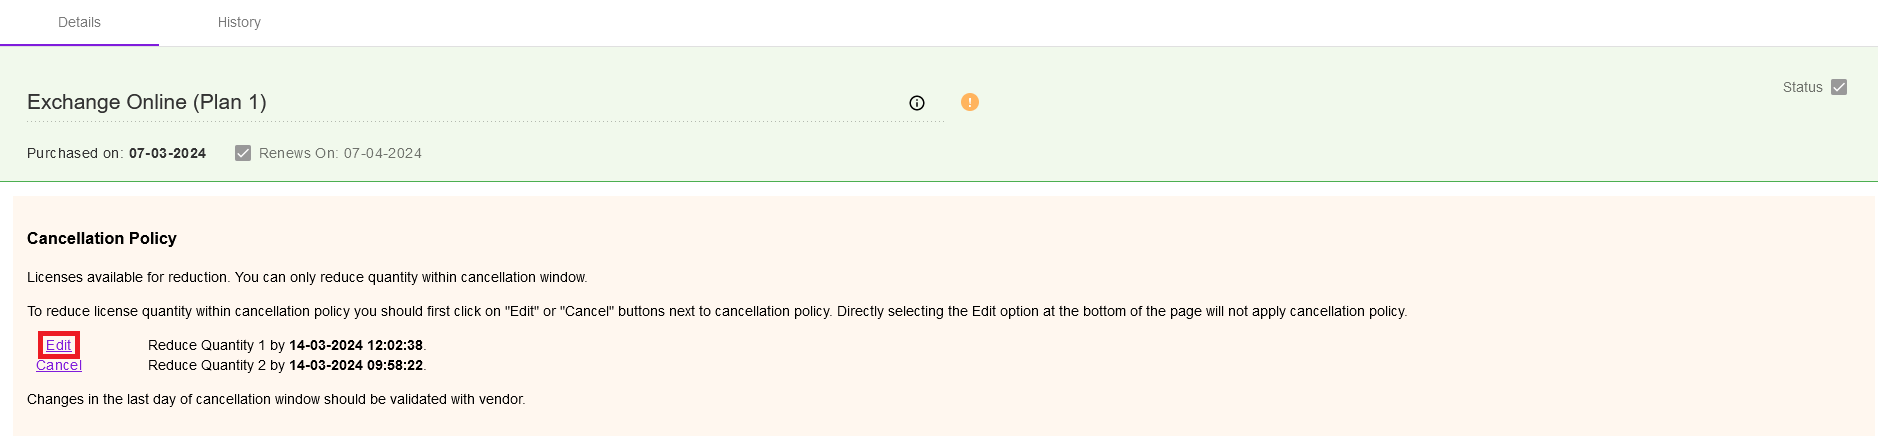
Click Edit in the Cancellation Policy window.
Adjust the values as desired.
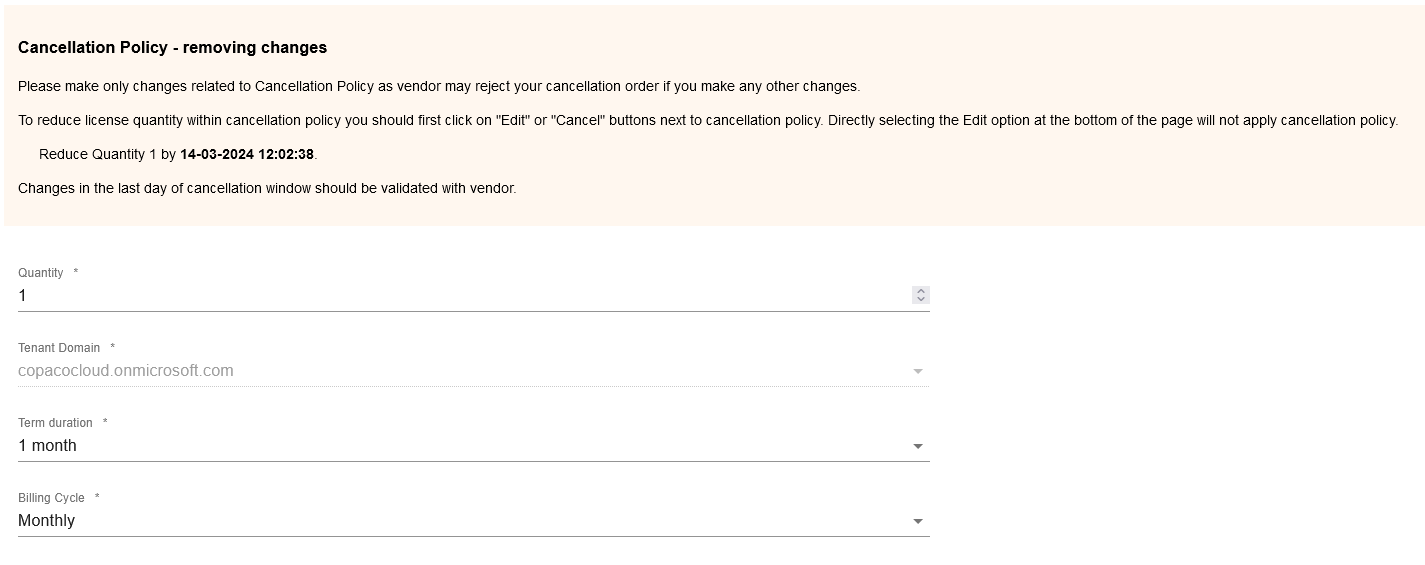
(Optional) Enter additional details.

Click Save.

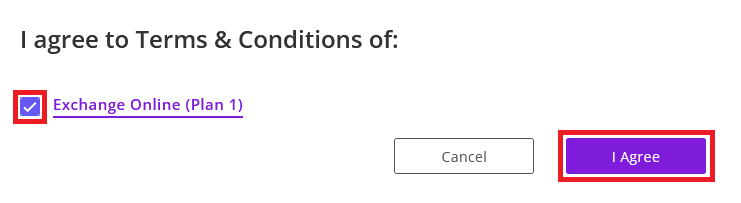
Agree to the Terms & Conditions by checking the checkbox and clicking I Agree.
Your order has been placed.

Scenario 2 - Placing a scheduled order on renewal date
Login to your Copaco Cloud Portal.
Click SELECT ORGANIZATION in the top right of your screen and click the name of the customer.
Under SUBSCRIPTIONS, click the subscription you wish to adjust.

Scroll down to the bottom of the page and click Edit.

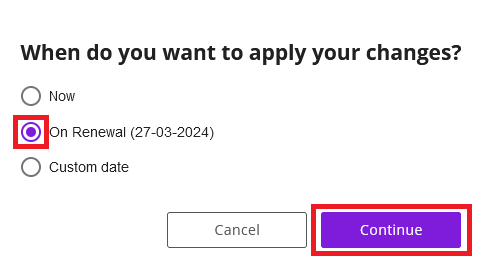
Select On Renewal and click Continue.
Adjust the values as desired.
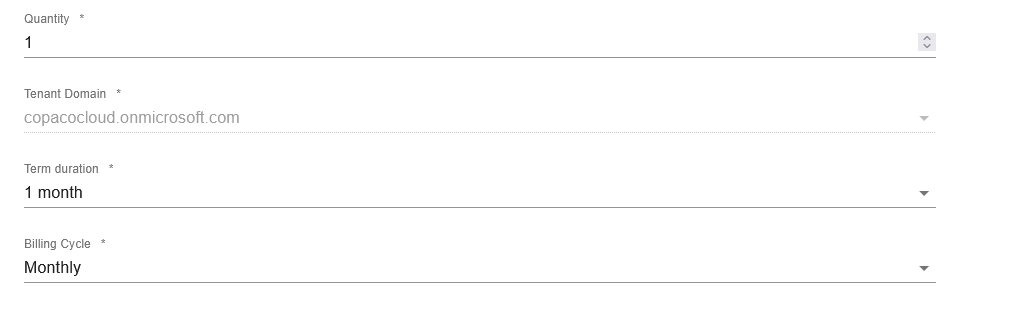
(Optional) Enter additional details.
Click Save.

Agree to the Terms & Conditions by checking the checkbox and clicking I Agree.

Your order has been placed.

