How to install Office on a Copaco VMware Cloud VM
Summary
Since Office 2016 it is not possible to install Office using an ISO. You have to install Office using the “Office Deployment Tool”. This article describes how you can do this.
Prerequisites
None
Getting Started
Download the “Office Deployment Tools” from Microsoft. Download Here
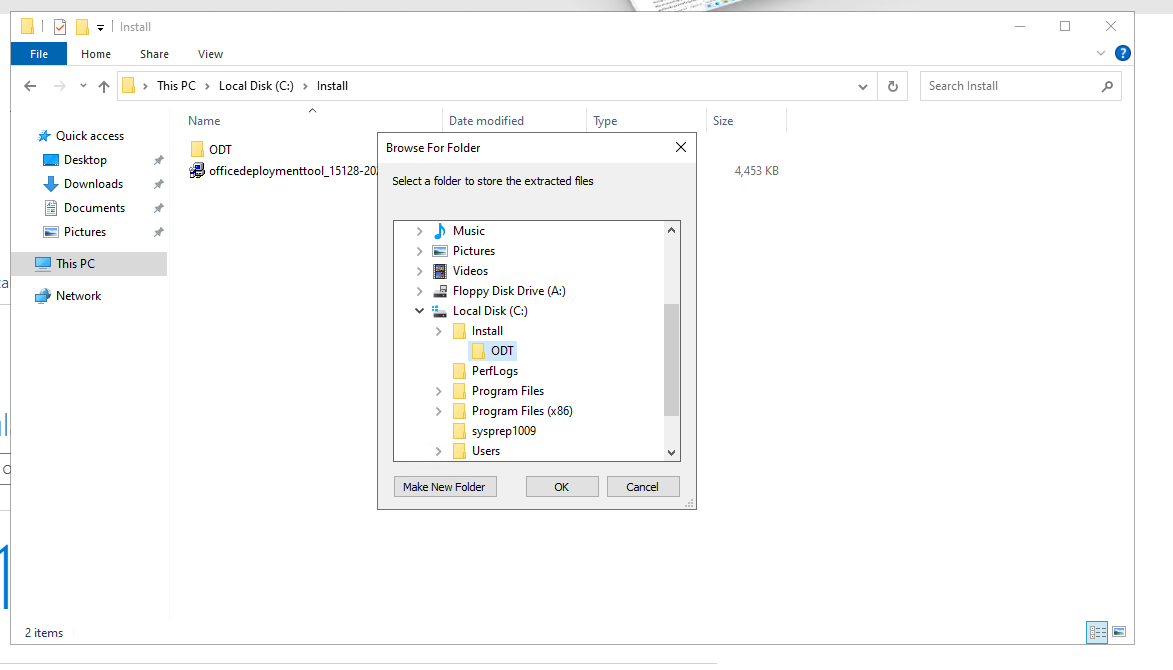
When the download is completed, click on “Officedeploymenttool.exe” to extract the setup files.

Once the setup files are extracted you need to create a configuration.xml and place the file in the same folder as where you have extracted the setup files. The Configuration file below installs “Office 2021 ProPlus” with Word, Excel, Powerpoint and Outlook.
XML<Configuration> <Add OfficeClientEdition="64" Channel="PerpetualVL2021"> <Product ID="ProPlusSPLA2021Volume"> <Language ID="en-us" /> <ExcludeApp ID="Lync" /> <ExcludeApp ID="Access" /> <ExcludeApp ID="Groove" /> <ExcludeApp ID="OneDrive" /> <ExcludeApp ID="OneNote" /> <ExcludeApp ID="Publisher" /> <ExcludeApp ID="Teams" /> </Product> </Add> <Remove All="True" /> <!-- <RemoveMSI All="True" /> --> <!-- <Display Level="None" AcceptEULA="TRUE" /> --> </Configuration>Now you have to download the files from Microsoft CDN based on the XML you have created. Open CMD and browse to the directory where you have placed the setup files and configuration.xml.
CODEcd C:\Install\ODTExecute the following command to download the Office Installation files.
CODEsetup /download configuration-Office2021.xmlAfter the command prompt is available again you will see that the the setup files are downloaded.

Install office using the following command.
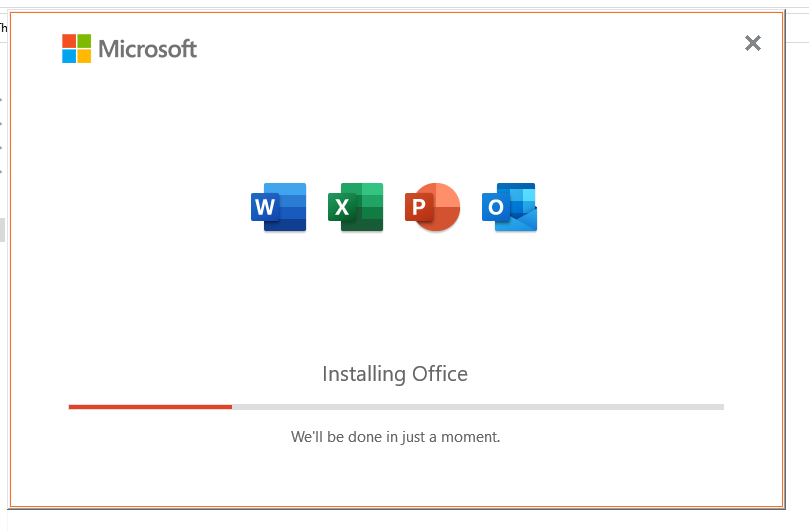
CODEC:\Install\ODT>setup /configure configuration-Office2021.xmlA pop-up will show the installation progress. Wait until the installation is successfully completed.

Create a support ticket and provide us credentials on the server so we can login and activate the installation.
